Setting up certificates for verification of digital signature registry keys
| 🌐 This document is available in both English and Ukrainian. Use the language toggle in the top right corner to switch between versions. |
1. General overview
Certificates for verifying digital signature keys are used to confirm the authenticity of the public key used in the digital signing process. They are issued by a trusted organization, known as the Accredited Key Certification Center (AKCC), and they play an important role in generating trust in electronic documents and transactions.
System signature keys are designed for data signing and verification by systems or programs. In other words, they help ensure that the corresponding data package or software originates from a known source and has not been altered.
QES (Qualified electronic signature) — is an enhanced version of DES (Digital Electronic Signature). It provides a higher level of security and trust, as more reliable cryptographic algorithms and procedures are used for its creation. QES often has legal force and allows confirming the authenticity of electronic documents in legal situations."
- CACertificates.p7b та CA.json:
-
-
CACertificates.p7b: this file contains one or more certificates in
PKCS#7format. The `PKCS#7`format is widely used for exchanging and storing certificates or an entire chain of certificates." -
CA.json: this is a JSON format file that can contain details about certificates. The JSON format presents certificate information in a format that is easy to read by both humans and machines."
The platform provides extensive capabilities for certificate management: it ensures their secure upload, storage, usage, and update.
-
2. Adding certificates
| The AKCC certificates for verifying the system signature keys and user’s QES, added in the Signature Verification Data section, will be applied to the registry settings. |
To add AKCC certificates, follow these steps:
-
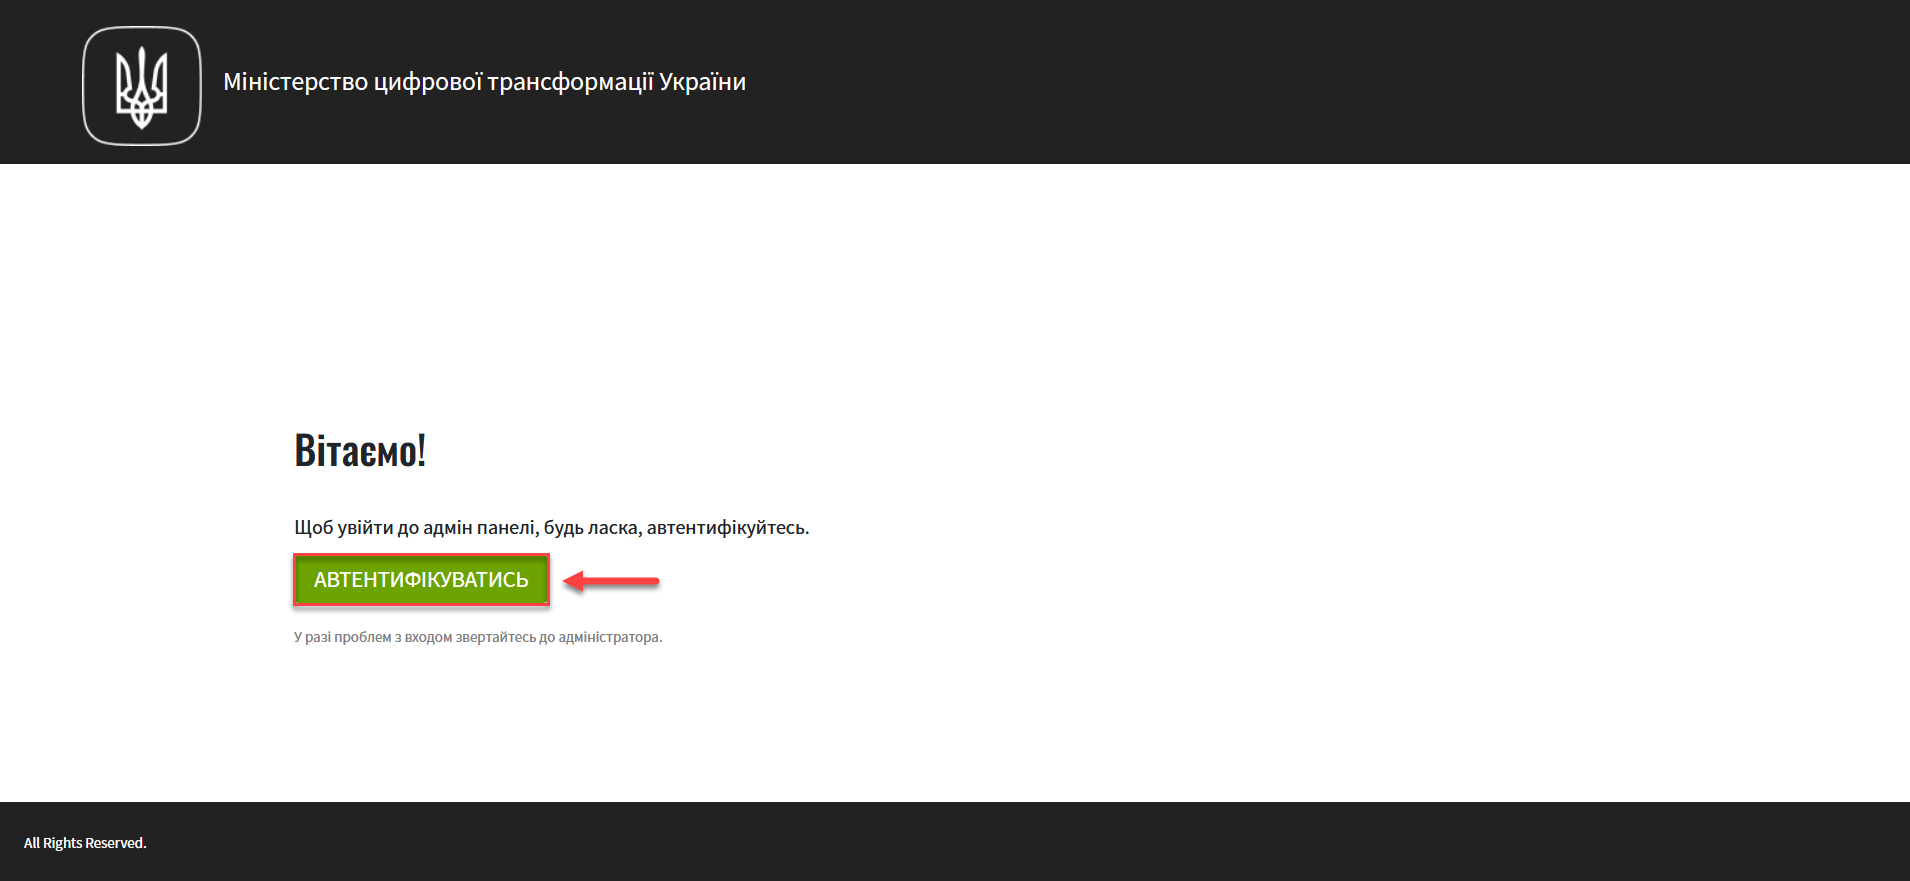
Log in to the registry management administrative panel Control Plane using the previously received login and password.
-
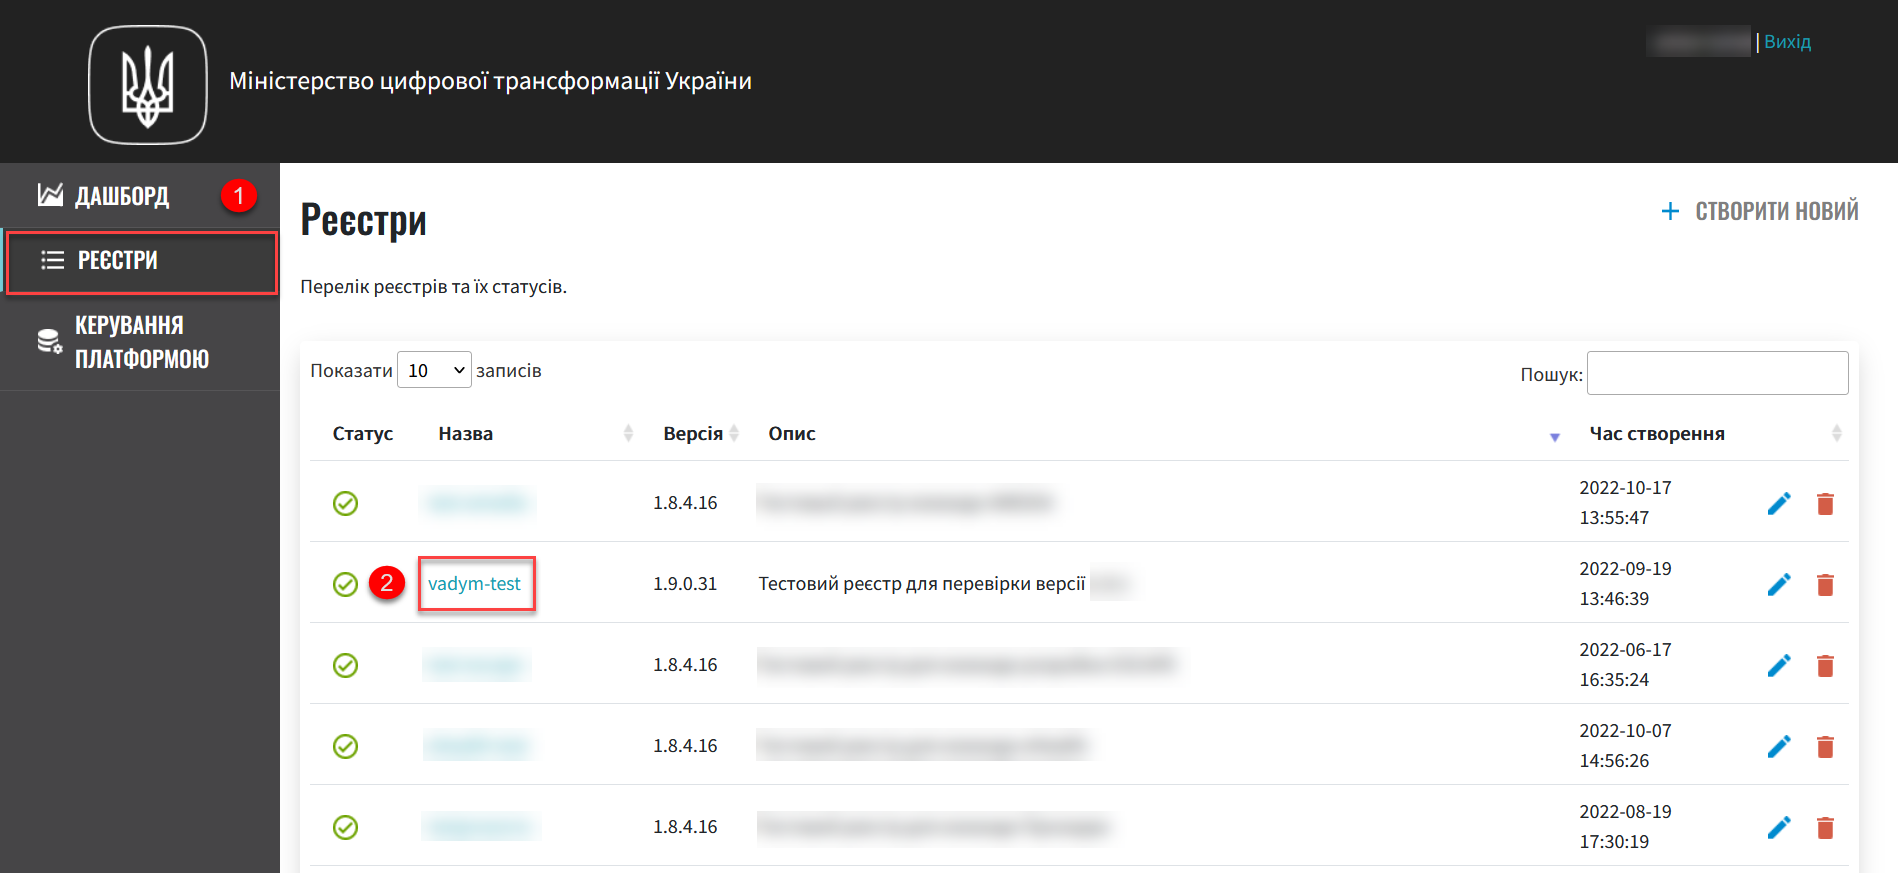
Go to the Registers section and select the appropriate register where you need to upload the signature verification certificates.
-
Click the
Editbutton located in the upper right corner.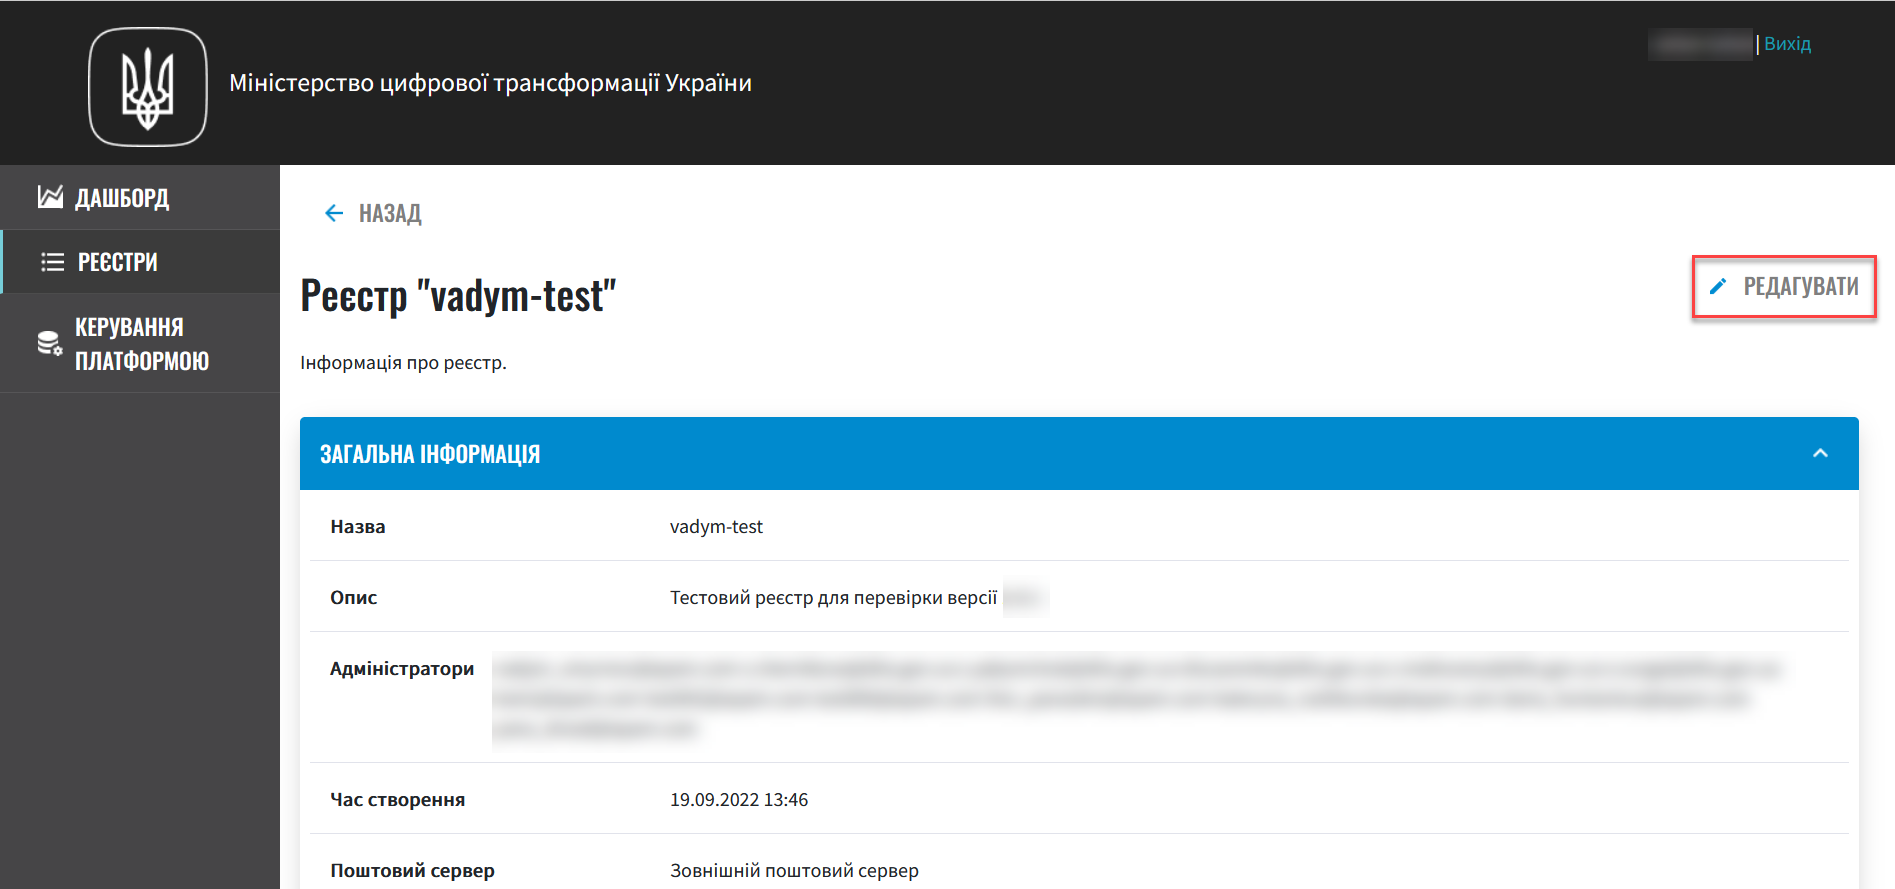
-
Go to the Signature Verification Data section.
-
Add the public AKCC certificates (CACertificates.p7b).
-
Add the list of compatible certificates (.p7b).
When deploying and working with a test registry, use the test AKCC certificates, otherwise the registry deployment pipeline will not pass, and you will receive an initialization error of the crypto service
digital-signature-ops. This will happen because the certificate files for the production environment simply do not contain data about test AKCC.For the production environment, use the appropriate prod-certificates
This functionality is specific to the Ukrainian implementation and may not apply or function as described in other contexts or regions. Please consult the local guidelines or documentation if you are implementing this outside Ukraine. -
Test environment AKCC certificates: https://iit.com.ua/download/productfiles/CACertificates.Test.All.p7b.
-
Production environment AKCC certificates: https://iit.com.ua/download/productfiles/CACertificates.p7b.
-
Add the certificate file by clicking the button Choose file at the Public AKCC certificates (.p7b extension). In the new window, navigate to the folder where the certificate file is stored, select it and press Open.

-
-
Add the AKCC list (CA.json).
-
Add interaction parameters with compatible Key Certification Center (.json).
When deploying and working with a test registry, use the test AKCC certificates, otherwise the registry deployment pipeline will not pass, and you will receive an initialization error of the crypto service
digital-signature-ops. This will happen because the certificate files for the production environment simply do not contain data about test AKCC.For the production environment, use the appropriate prod-certificates
This functionality is specific to the Ukrainian implementation and may not apply or function as described in other contexts or regions. Please consult the local guidelines or documentation if you are implementing this outside Ukraine. -
Test environment AKCC certificates: https://iit.com.ua/download/productfiles/CAs.Test.All.json.
-
Production environment AKCC certificates: https://iit.com.ua/download/productfiles/CAs.json.
-
-
Add the certificate file by clicking the button Choose file at the List of AKCC (.json extension). In the new window, navigate to the folder where the certificate file is stored, select it and press Open.

-
-
At the end, check the information entered and press the button
ConfirmAs a result of updating the key information on the Control Plane interface, a new request to update the registry configuration is created, which needs to be confirmed. -
In the Control Plane admin panel interface, go back to the Registers section, scroll down the page and find the Update requests section. Find the required request and click on the view icon 👁.

-
Scroll down the page and click on the Confirm button.

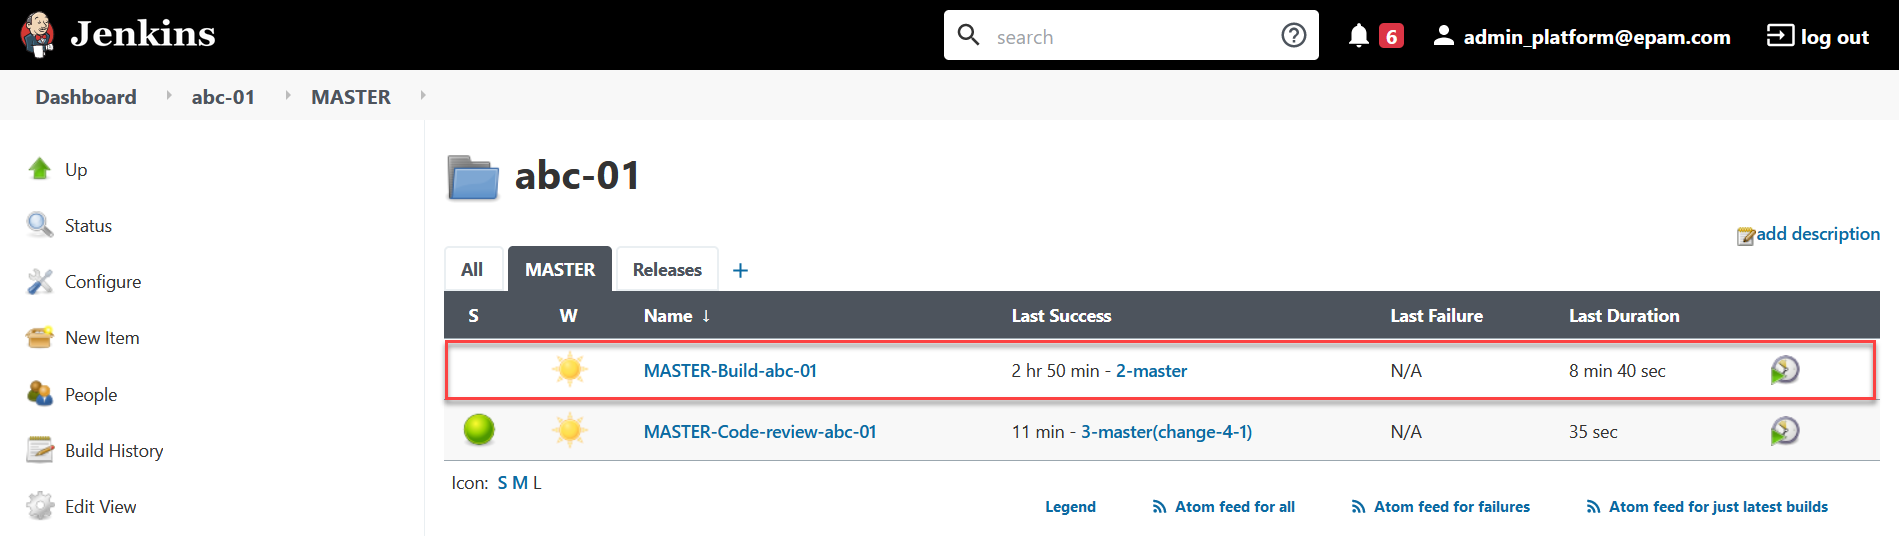
Next, the MASTER-Build-
<registry-name>pipeline is automatically launched, which applies the parameters of the given configuration and creates secrets for digital signature keys. -
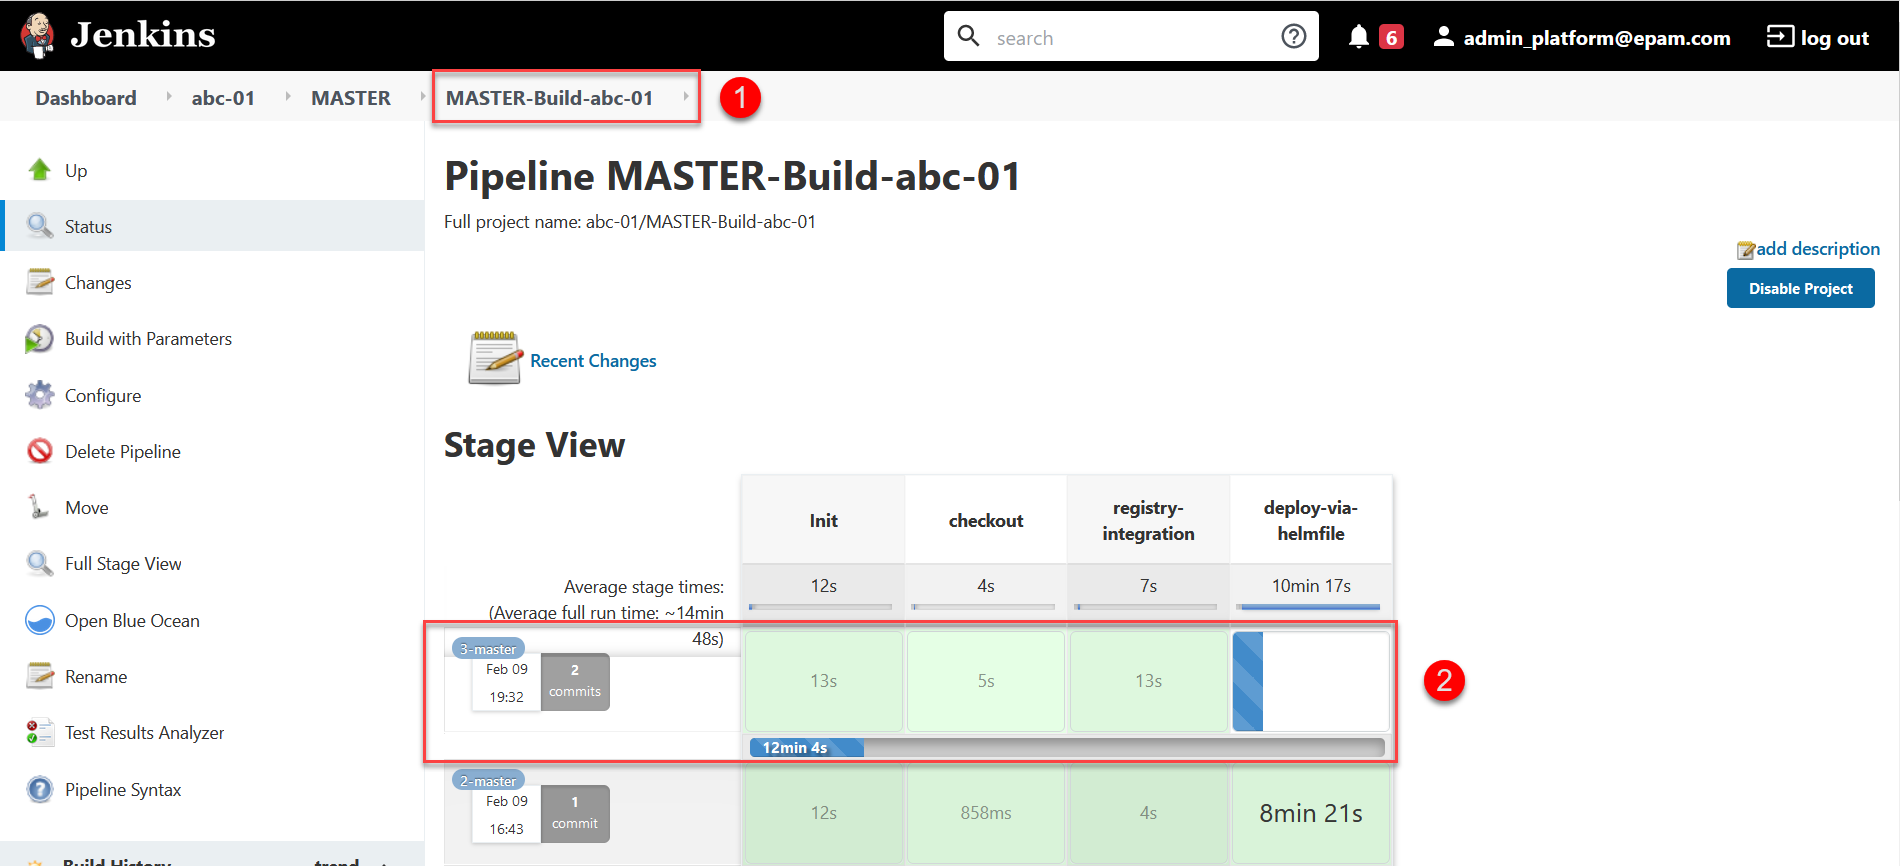
Wait for the code build to complete. This can take approximately 15 minutes, but it will depend on the configuration of a specific registry.
You can check the current status and execution result via the
CIlink on the interface.