Using the "Refresh Options On" function in the updated Select component
| 🌐 This document is available in both English and Ukrainian. Use the language toggle in the top right corner to switch between versions. |
The regulations administrator can simultaneously connect several stylized components to the Refresh Options On function within the Select component.
|
The |
You can set this up in the regulations administrator portal when modeling UI forms for business processes.
-
Sign in to the regulations administrator portal.
/import-users(officer)-01.png)
-
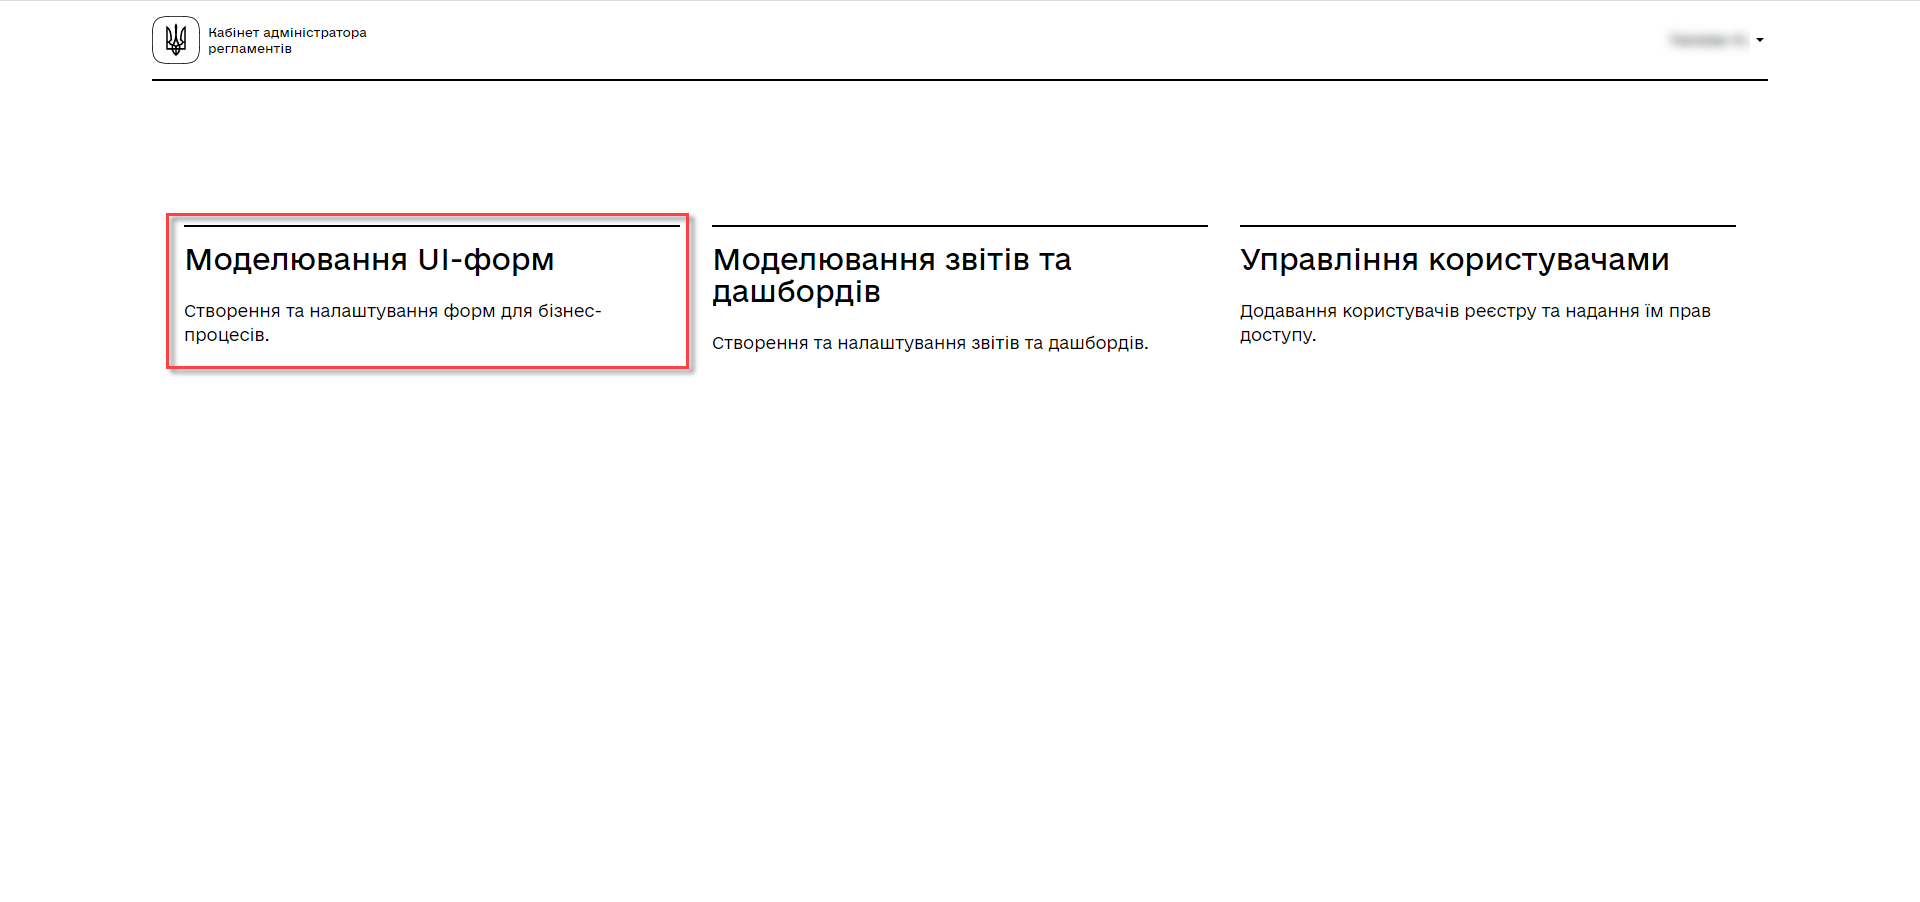
Open the Model UI forms section.
-
Click
Create new form.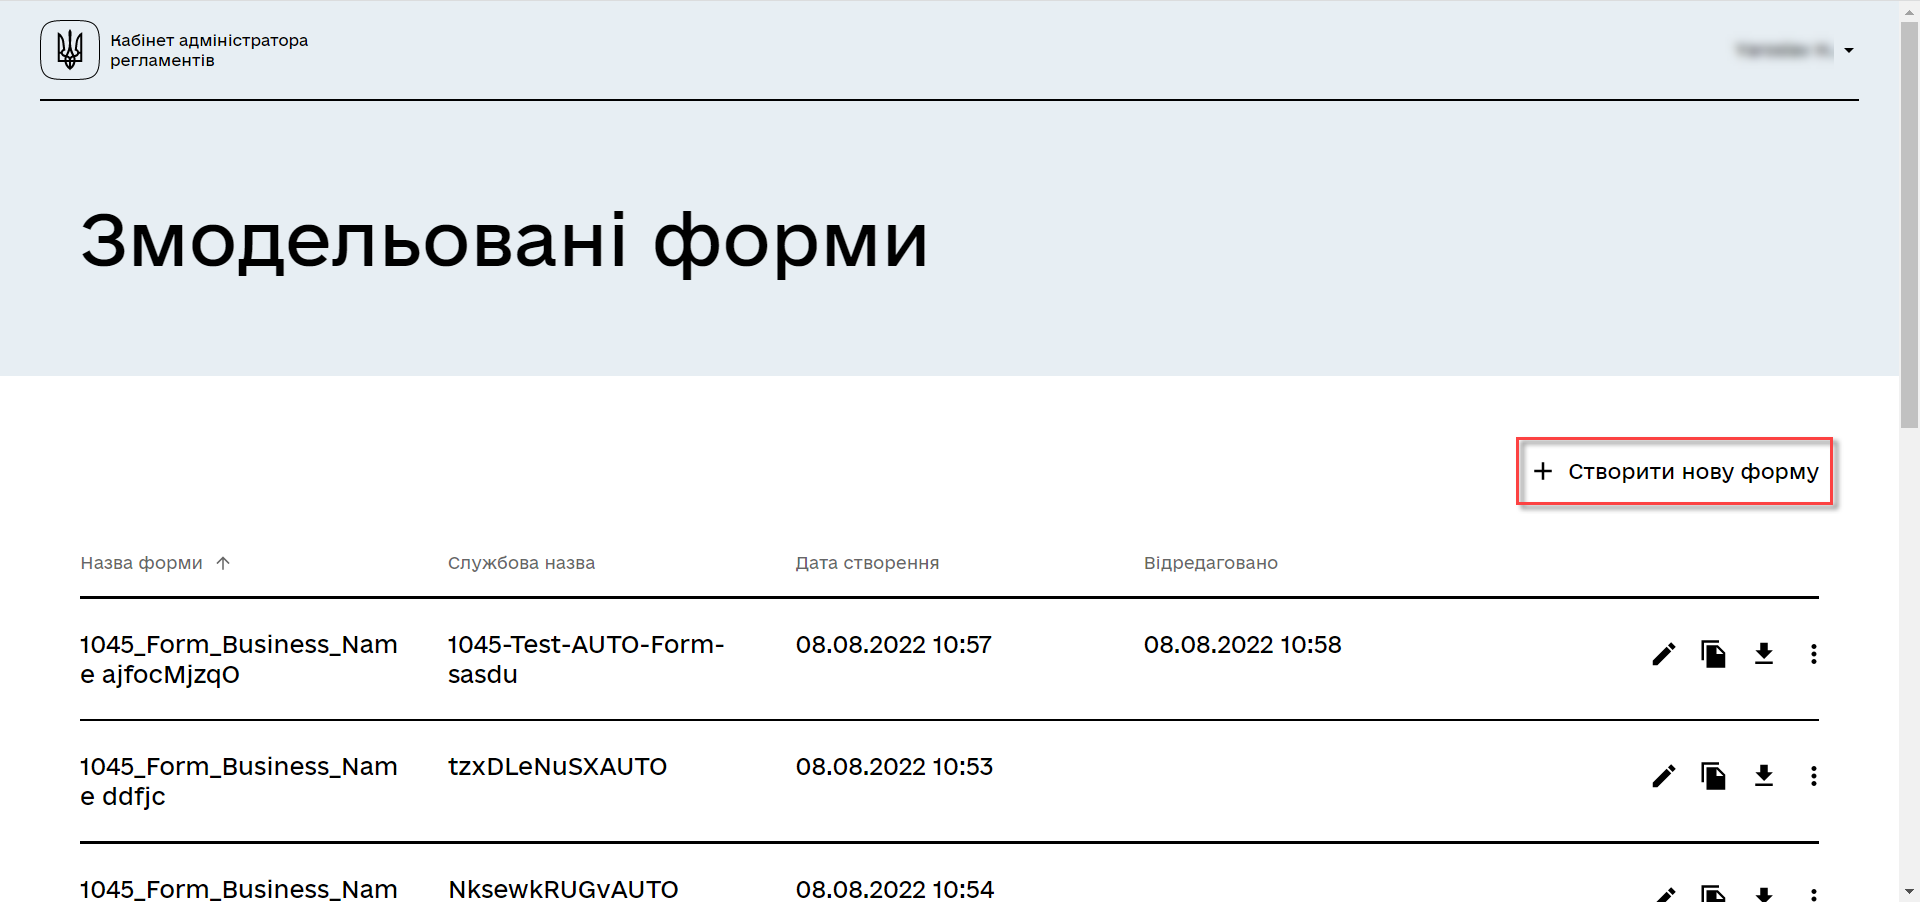
-
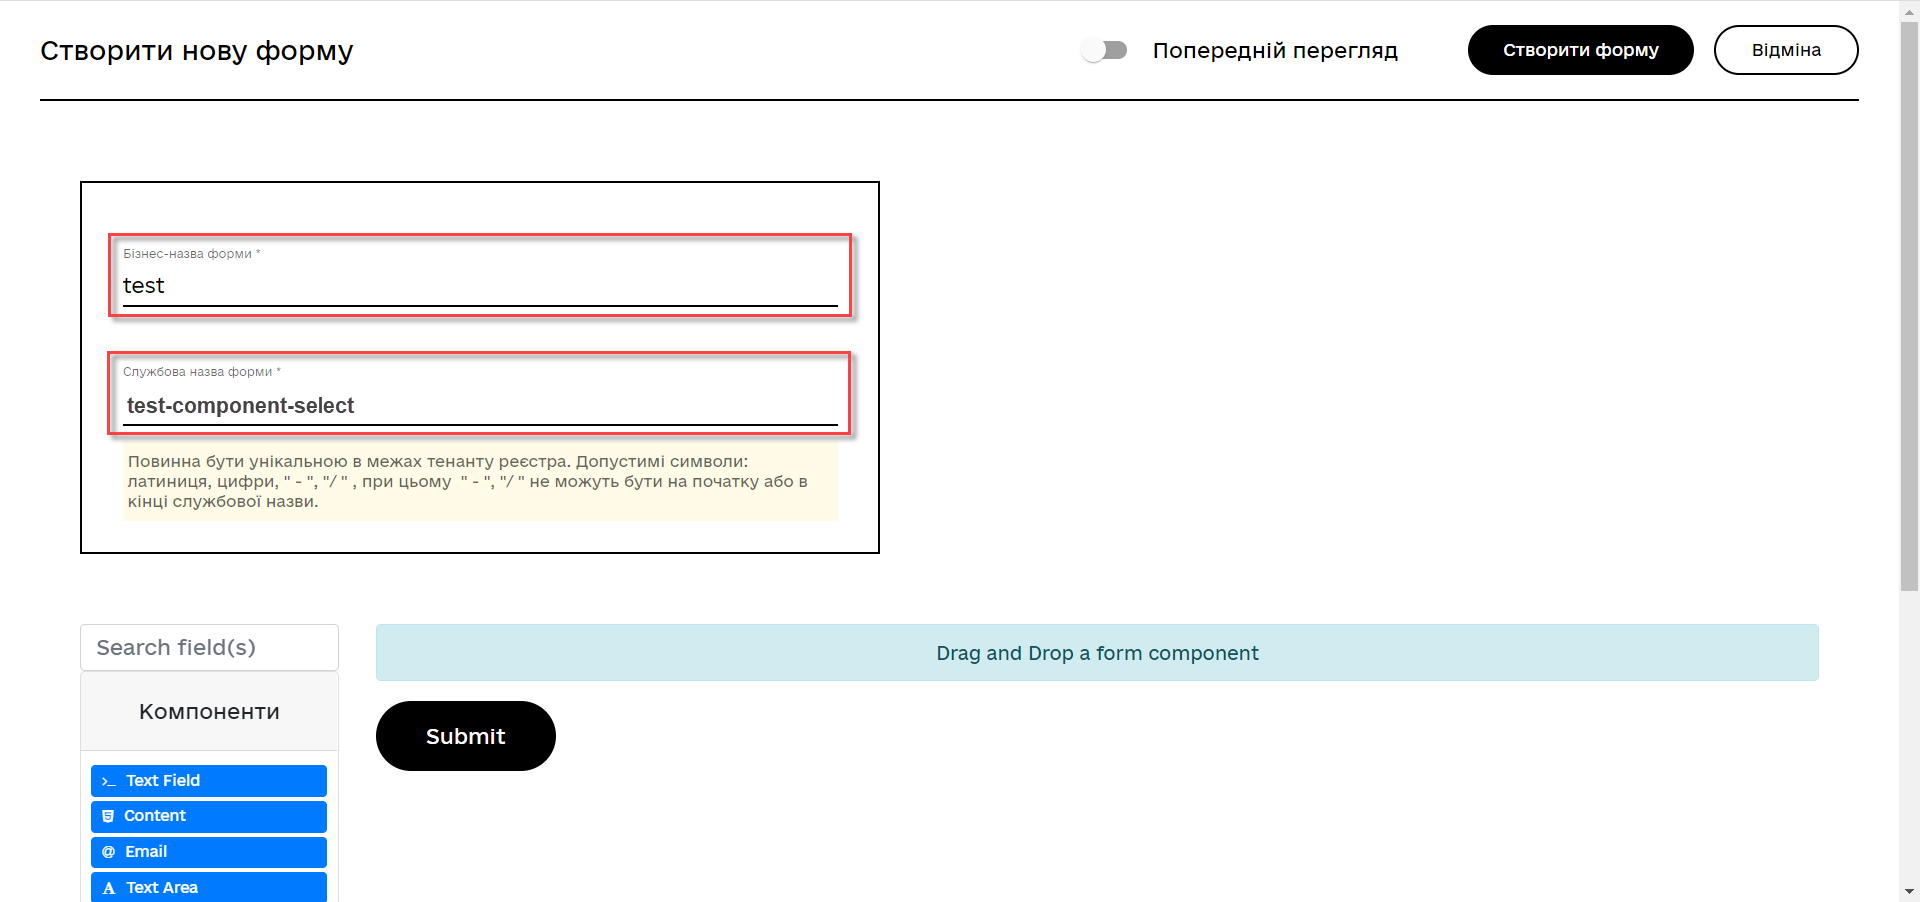
Specify the form’s business name and service name in the corresponding fields.
-
In the components panel on the left, select Latest.
-
Find the Select component and drag it onto the modeling canvas.
-
Click
Save. -
Add two more components to the modeling canvas: Checkbox and Text Field.
-
Open the updated Select component’s settings.
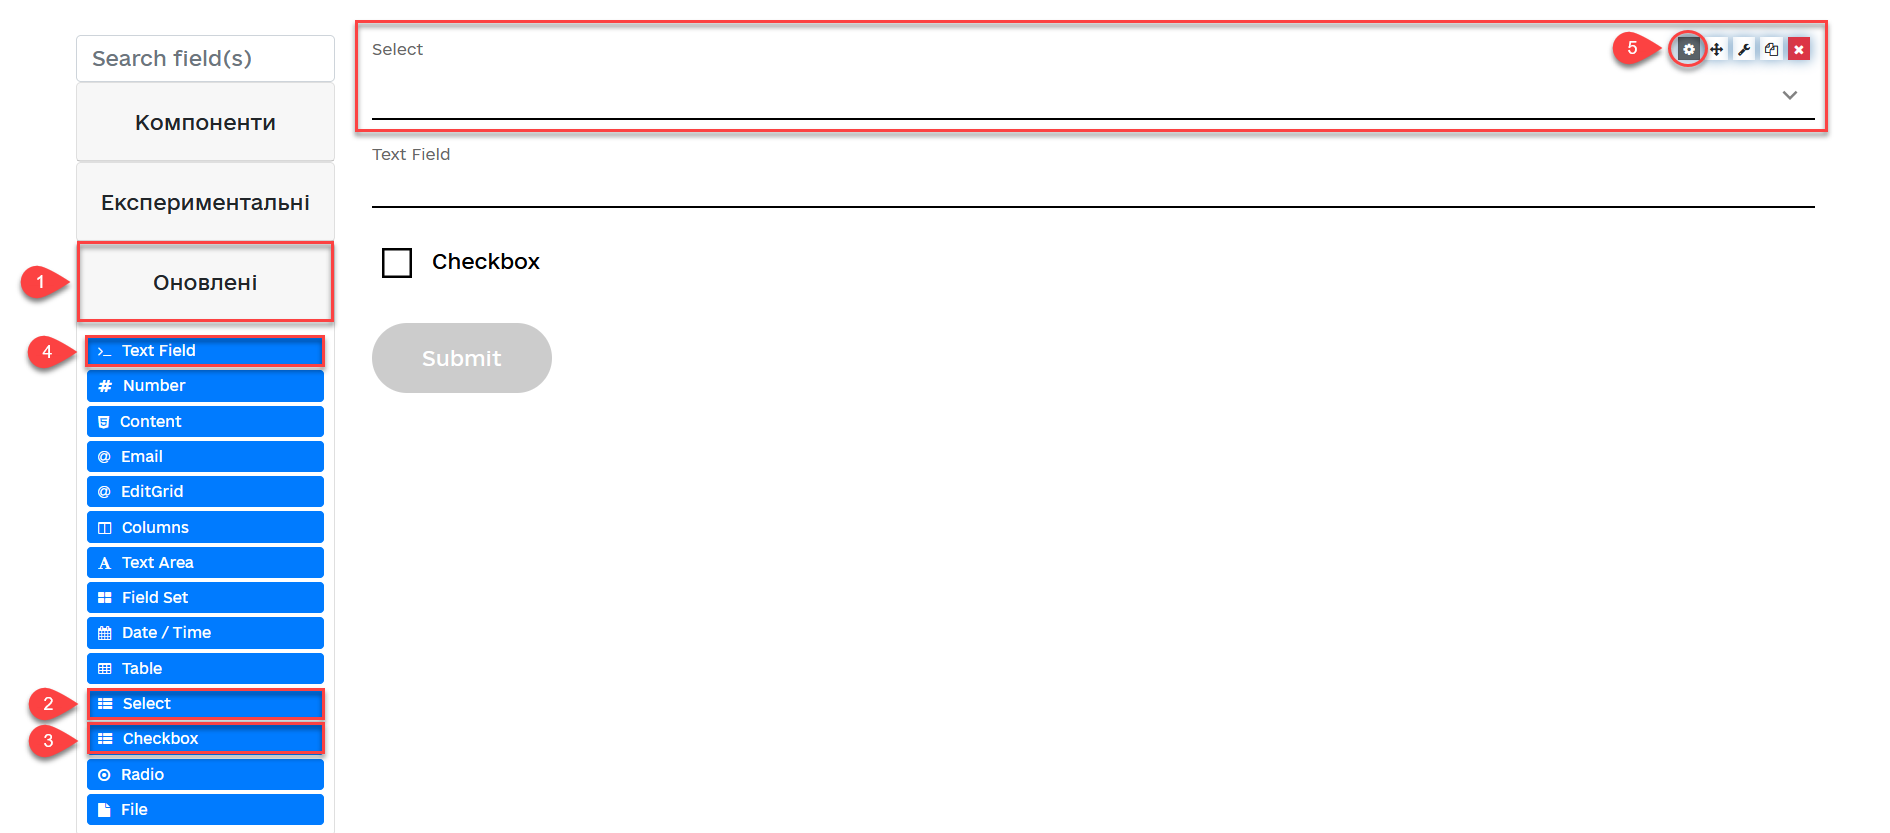
Change the component name (form field) from Default LabeltoSelectfor convenience. -
In the Data Source Values section, enter test data—for example,
1,2,3.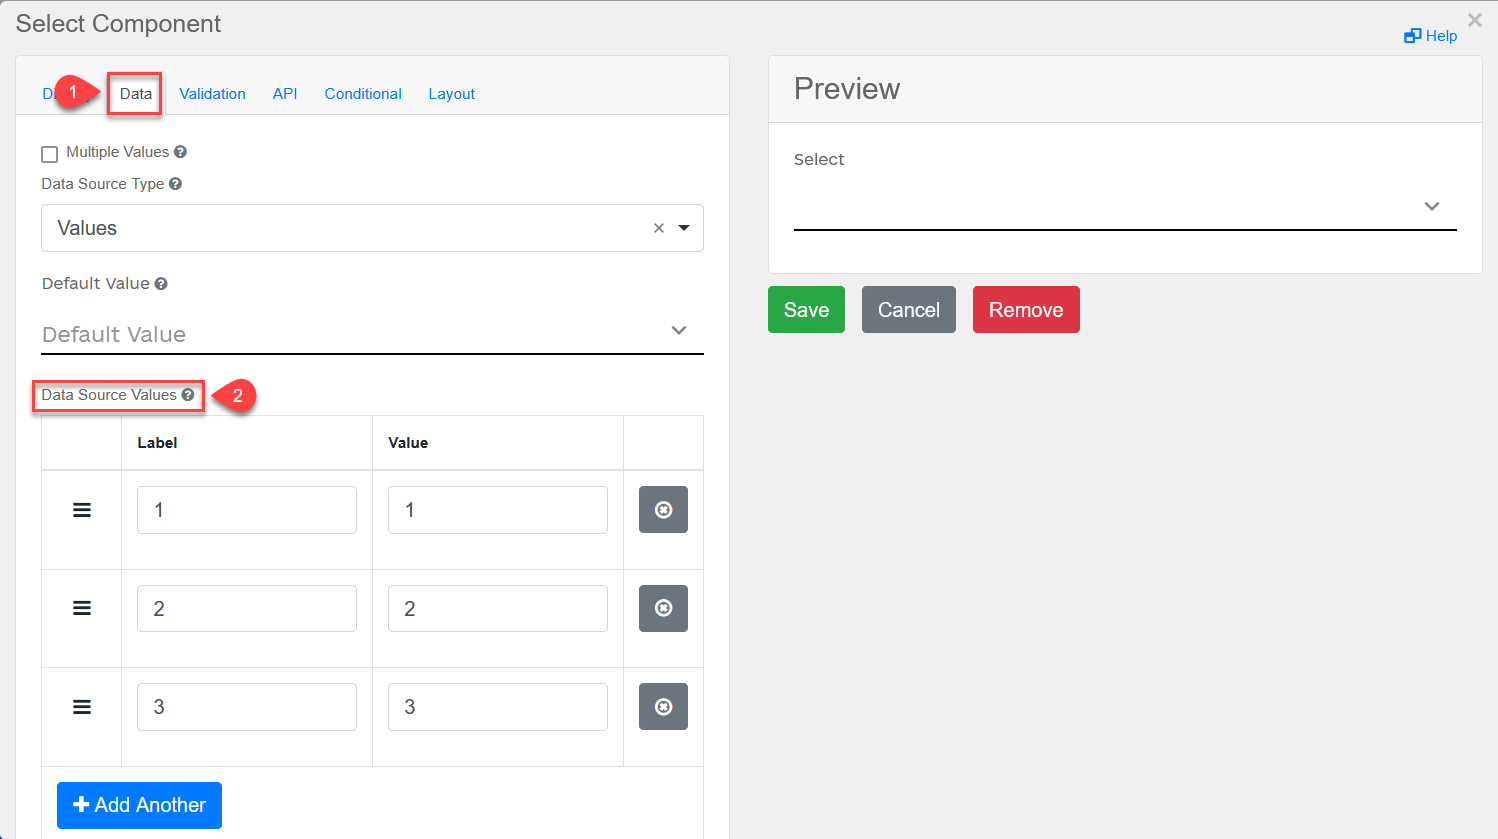
-
Open the Data tab.
The Refresh Options On field’s dropdown menu contains the previously selected Checkbox and Text Field components.
Add both components as the field’s values and click
Submit.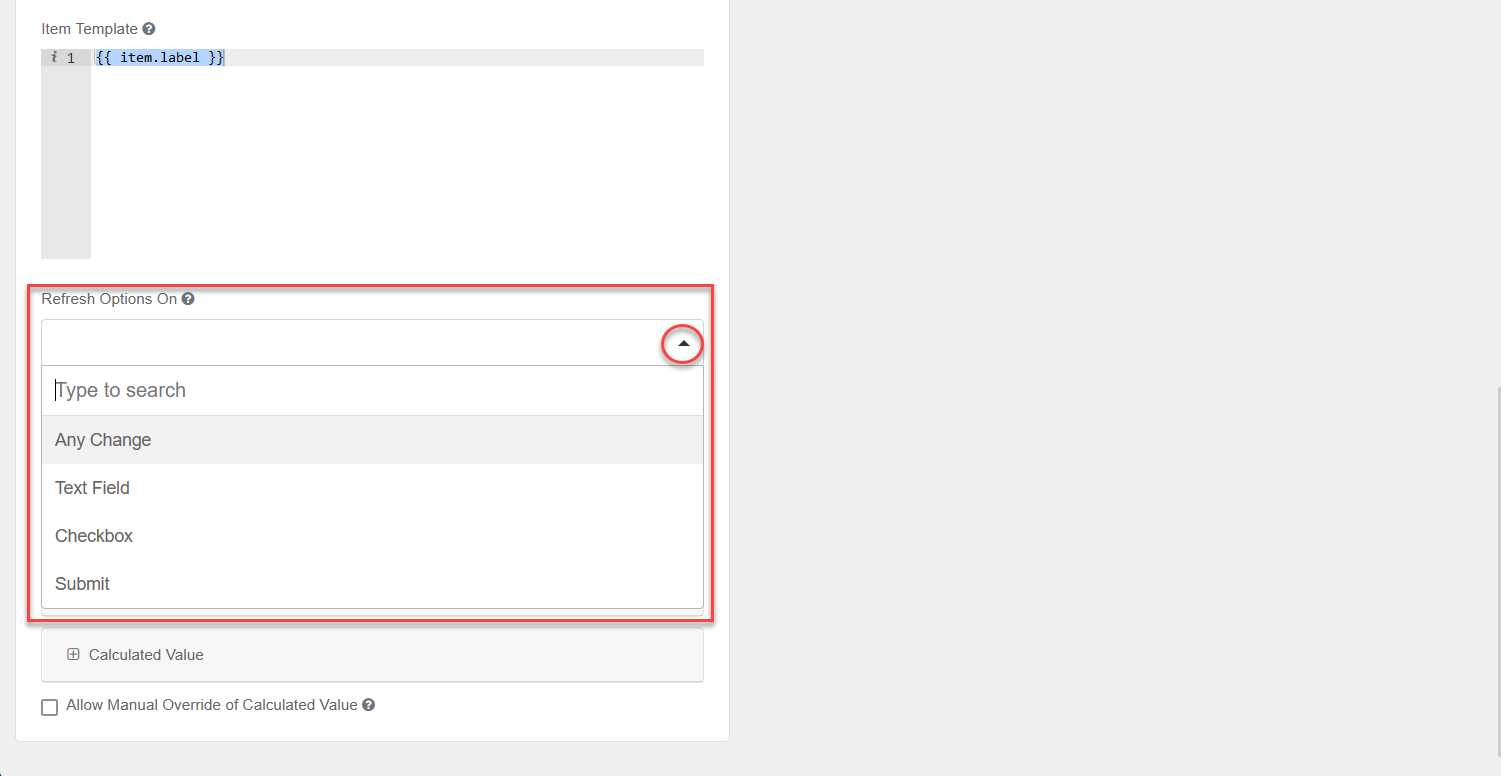
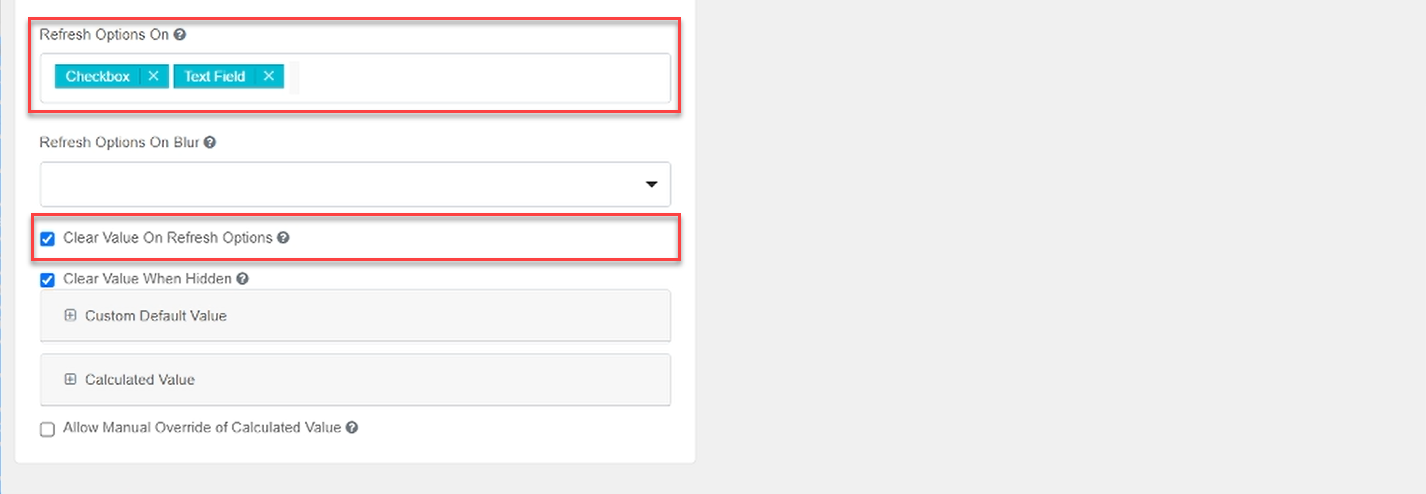
This way, we are connecting several stylized components to the Refresh Options Onfunction. -
Select the Clear Value on Refresh Options checkbox so that the data can be updated.
-
Scroll up and click
Save.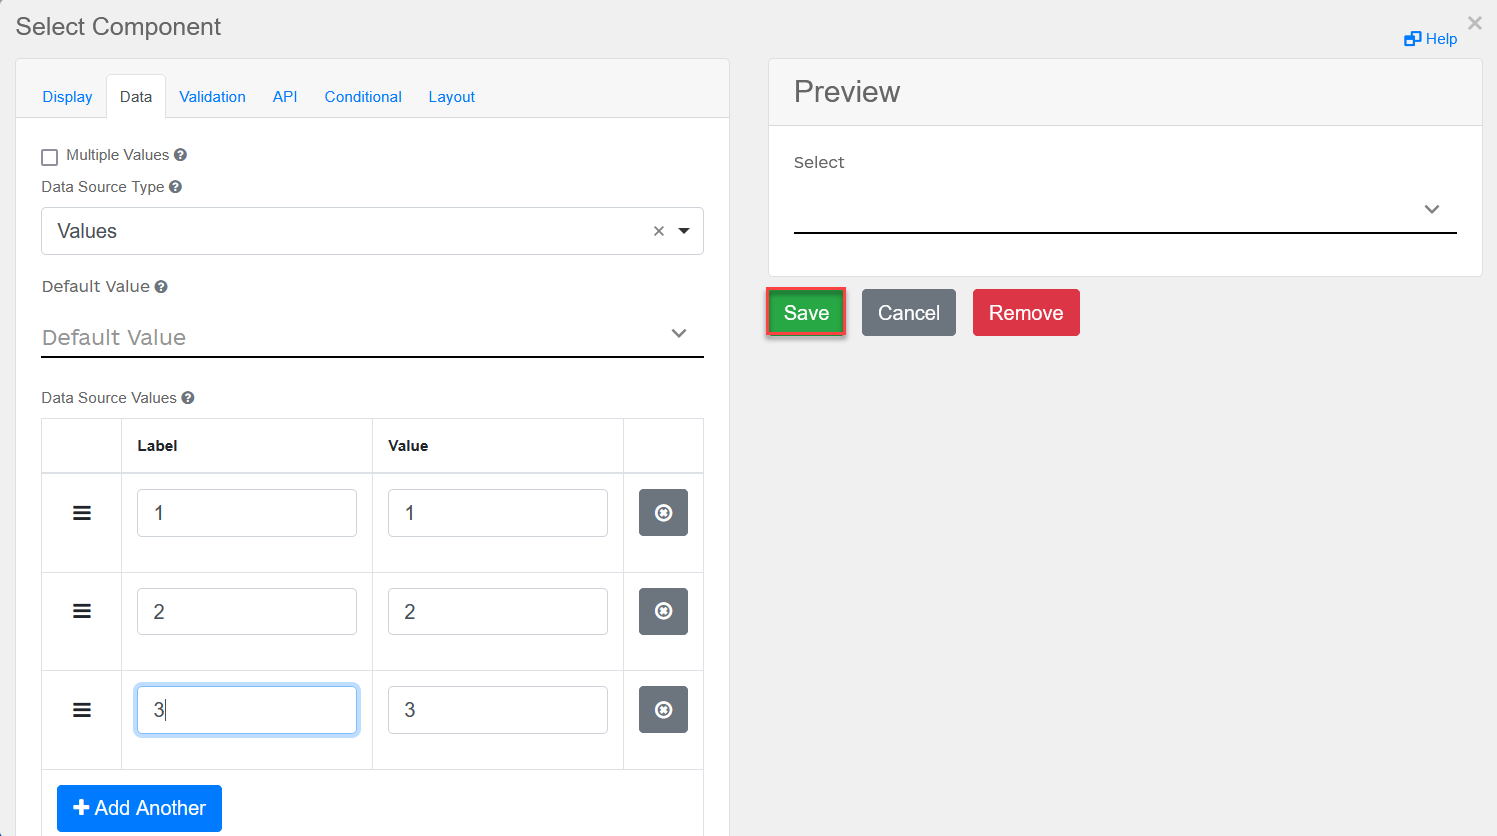
-
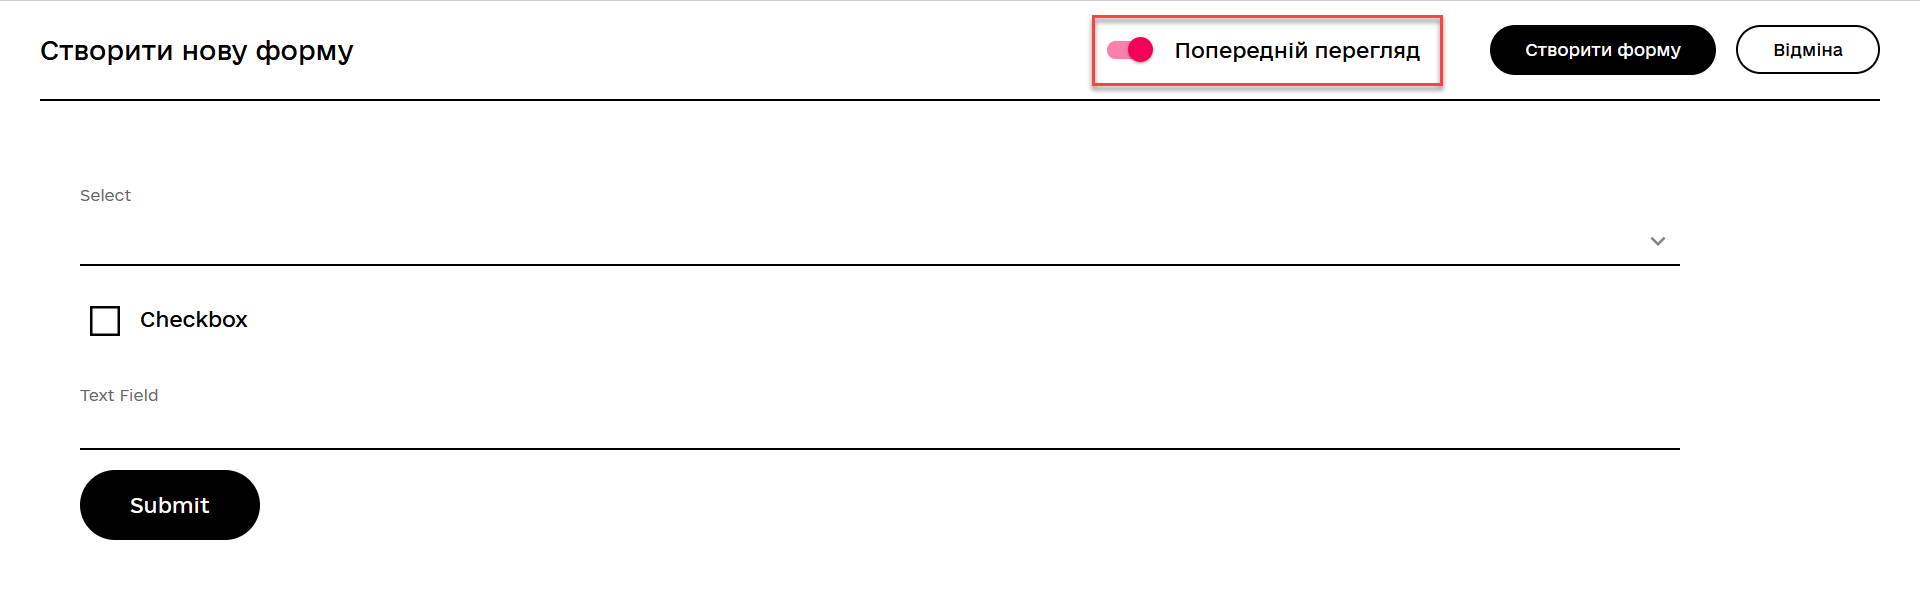
Enable the Preview mode.
-
In the Select component’s field, enter
1. -
Select the Checkbox checkbox.
As a result, the value from the Select field is deleted.
-
Enter another value into the Select field—for example,
3. -
Enter values into the Text Field.
As a result, the values from the Select field are deleted due to the enhanced Refresh Options On feature.