Deploy Application With Custom Build Tool/Framework⚓︎
This Use Case describes the procedure of adding custom Tekton libraries that include pipelines with tasks. In addition to it, the process of modifying custom pipelines and tasks is enlightened as well.
Goals⚓︎
- Add custom Tekton pipeline library;
- Modify existing pipelines and tasks in a custom Tekton library.
Preconditions⚓︎
- EDP instance with Gerrit and Tekton inside is configured;
- Developer has access to the EDP instances using the Single-Sign-On approach;
- Developer has the
Administratorrole to perform merge in Gerrit.
Scenario⚓︎
Note
This case is based on our predefined repository and application. Your case may be different.
To create and then modify a custom Tekton library, please follow the steps below:
Add Custom Application to EDP⚓︎
-
Open EDP Portal URL. Use the Sign-In option:
-
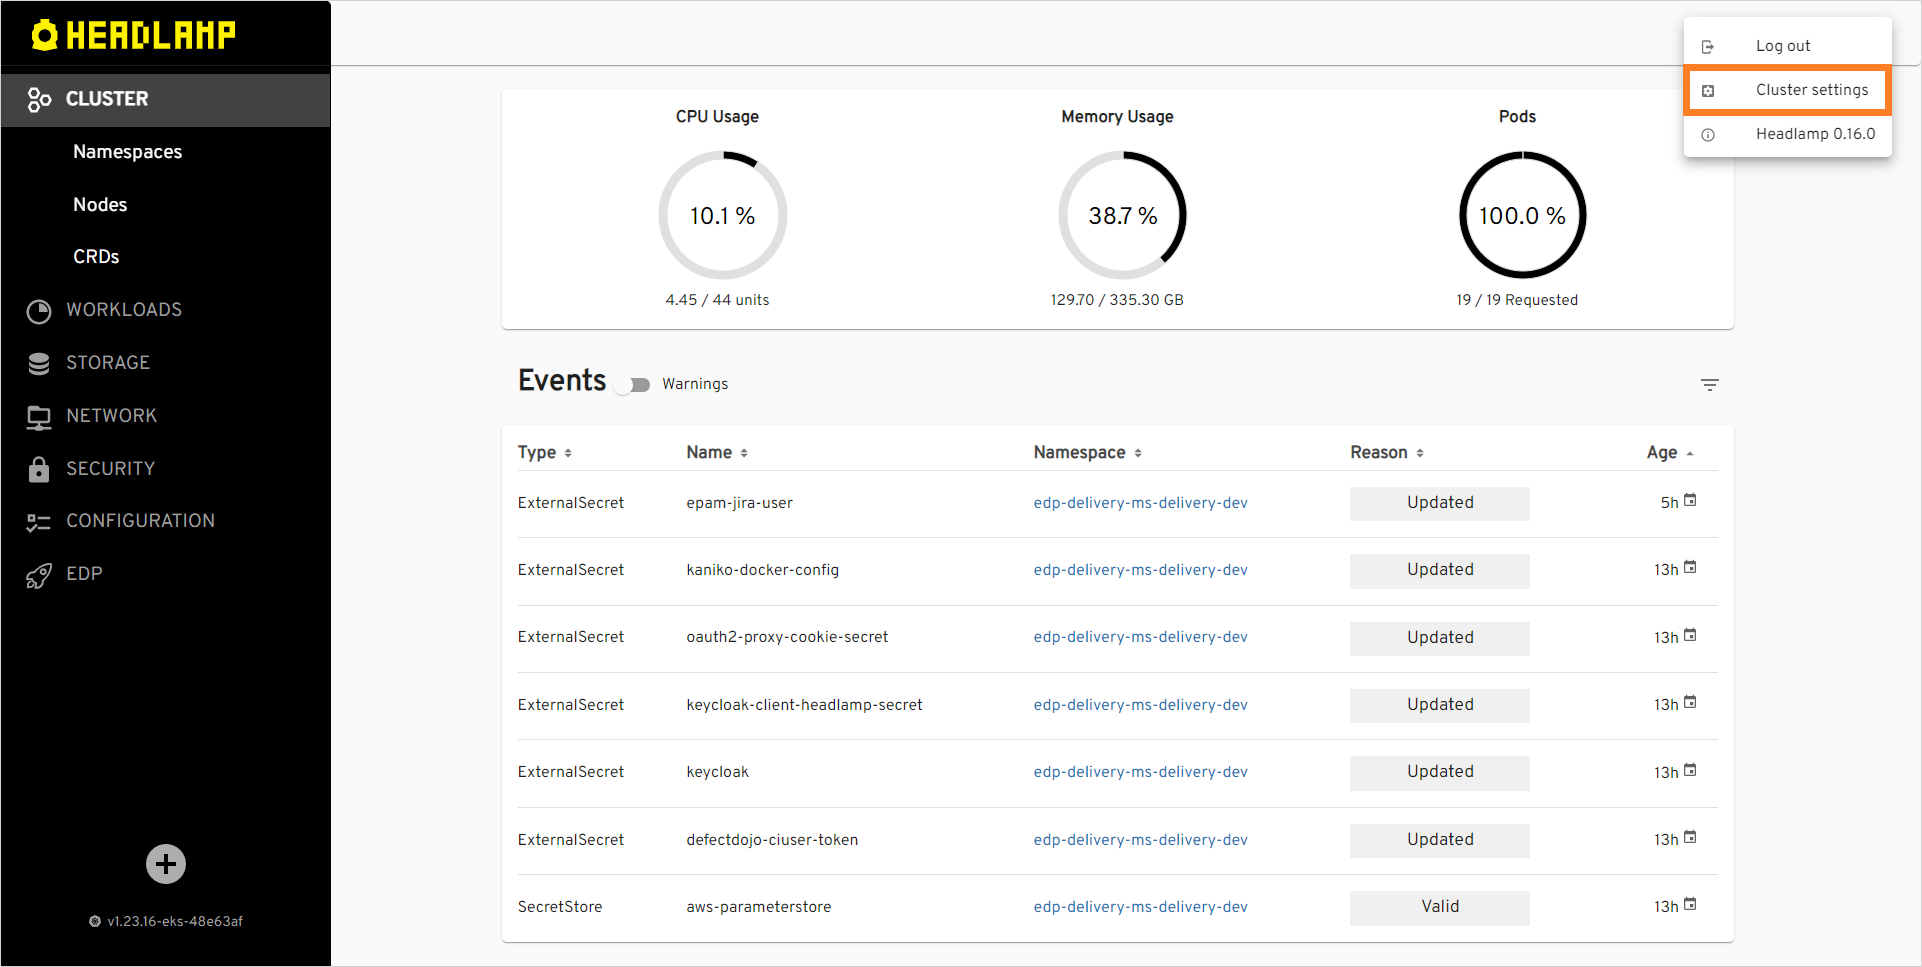
In the top right corner, enter the
Cluster settingsand ensure that bothDefault namespaceandAllowed namespaceare set: -
Create the new
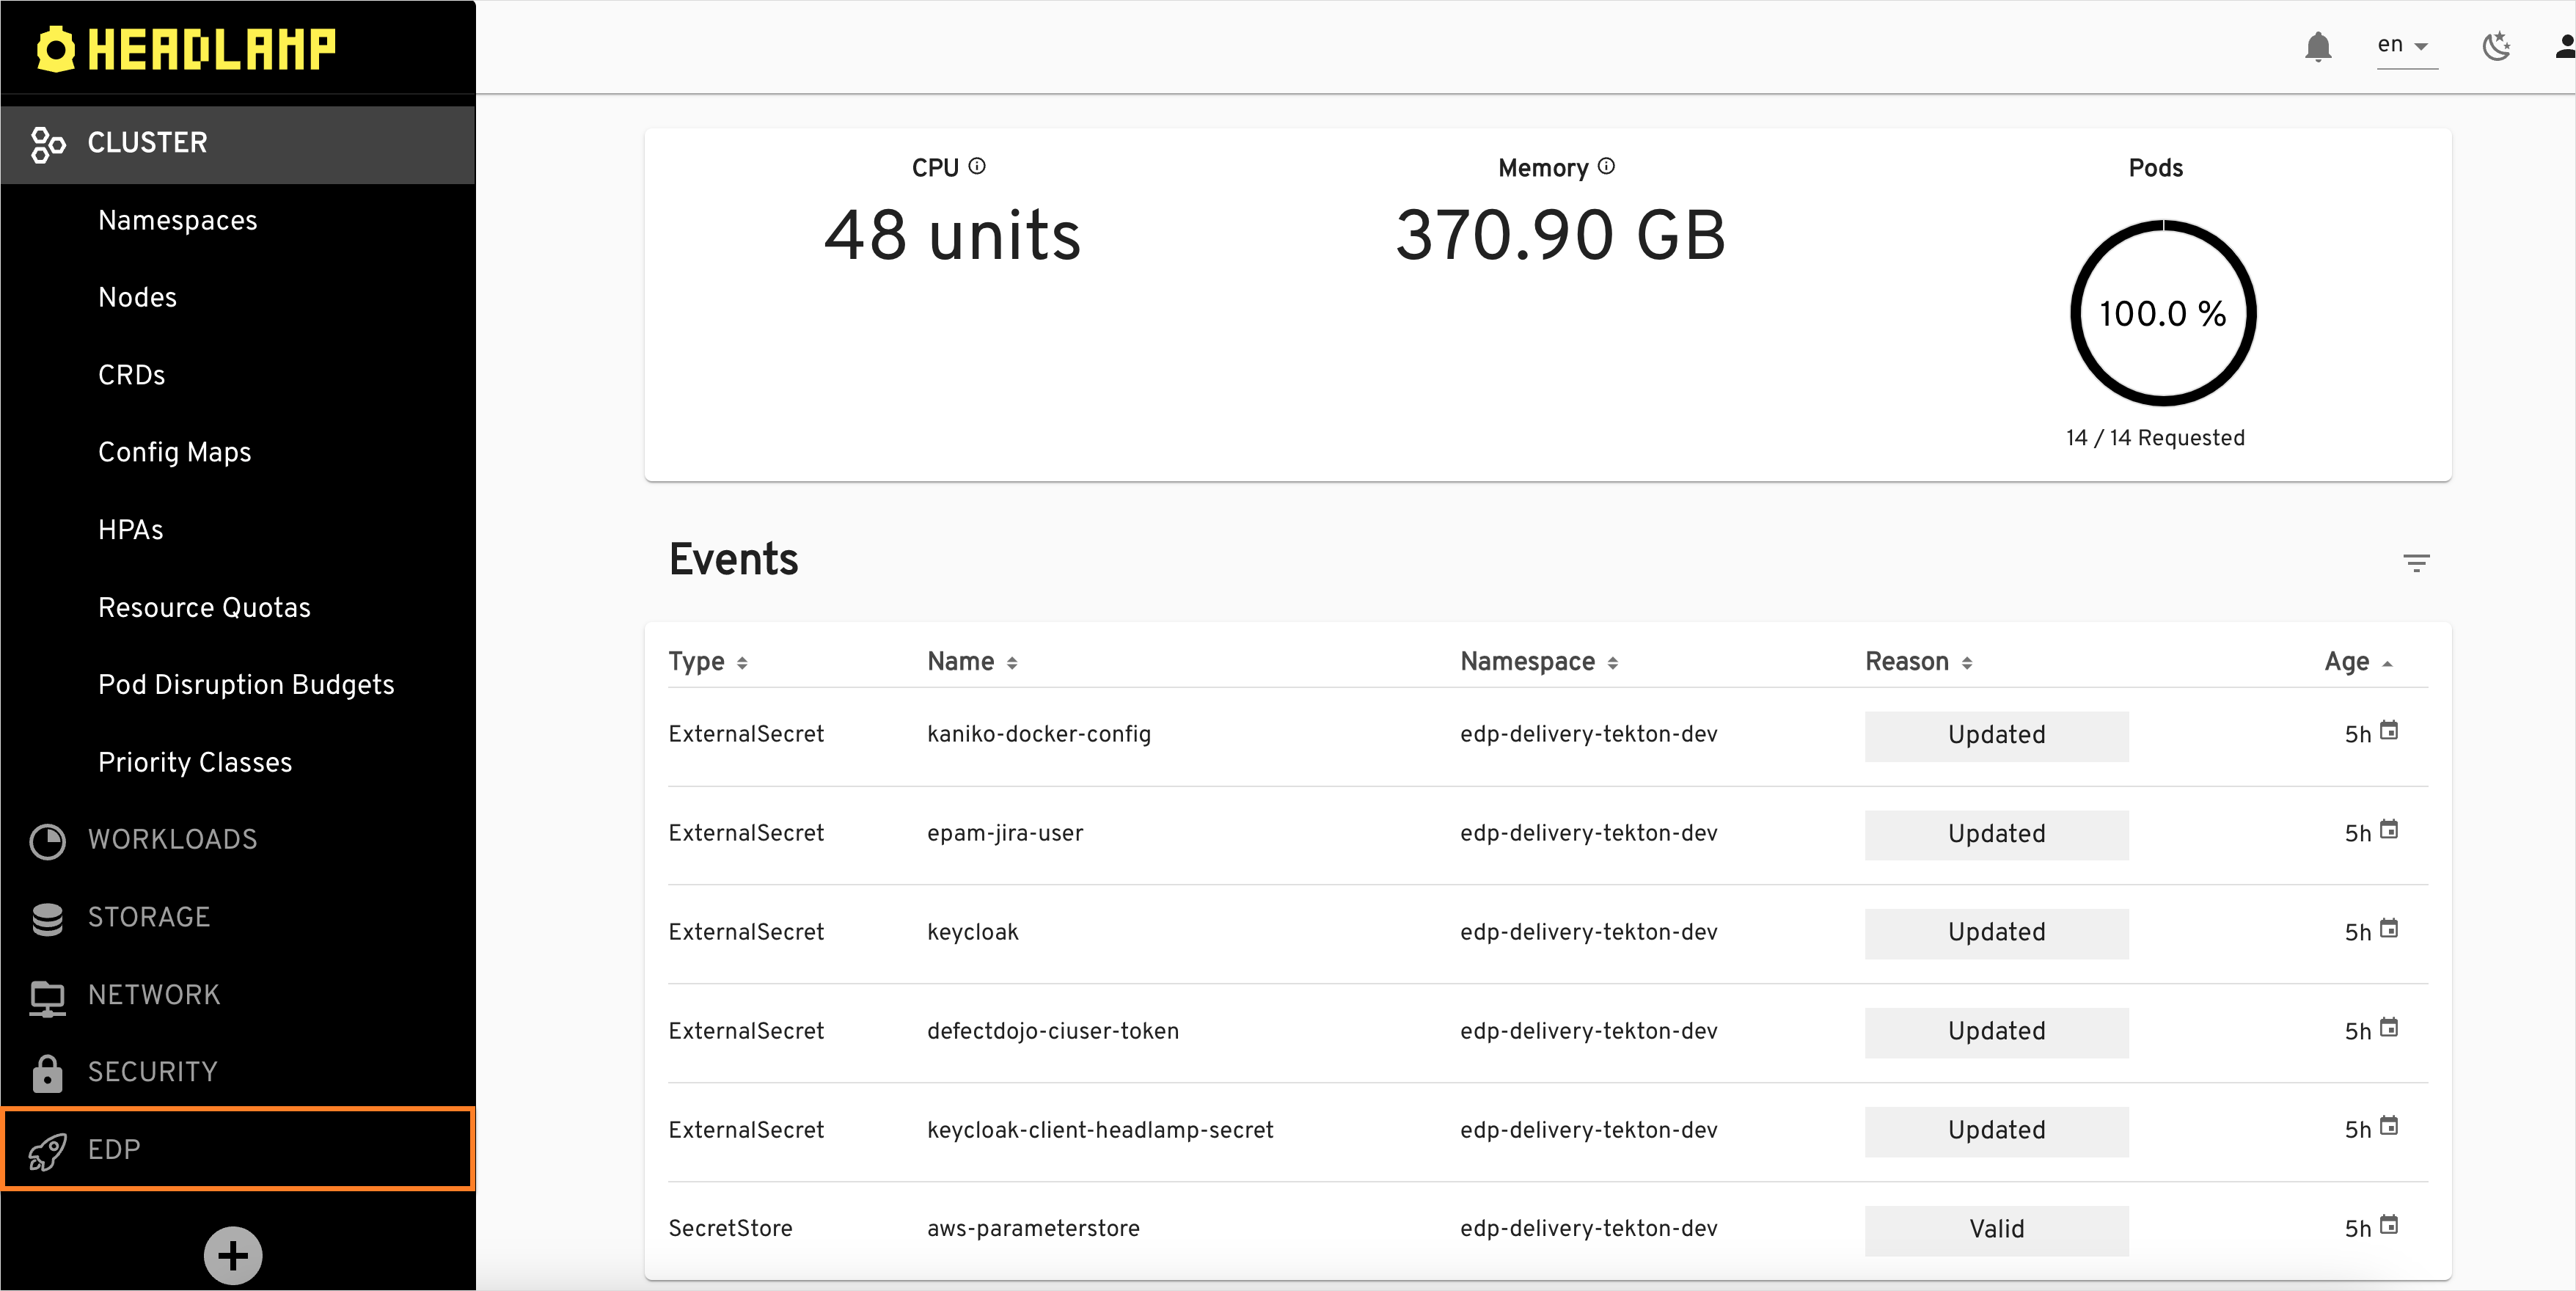
Codebasewith theApplicationtype using theClonestrategy. To do this, click the EDP tab: -
Select the
Componentssection under the EDP tab and push the create+button: -
Select the
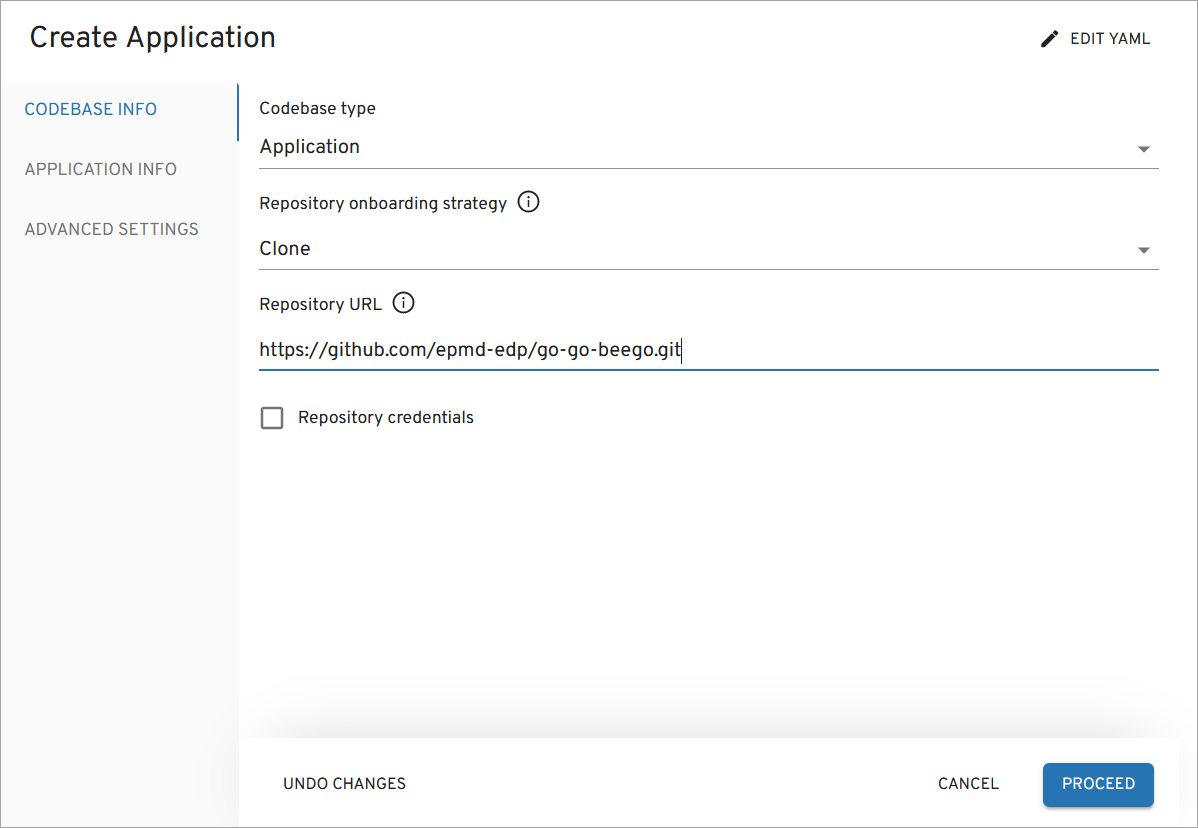
Applicationcodebase type because is meant to be delivered as a container and deployed inside the Kubernetes cluster. Choose theClonestrategy and this example repository: -
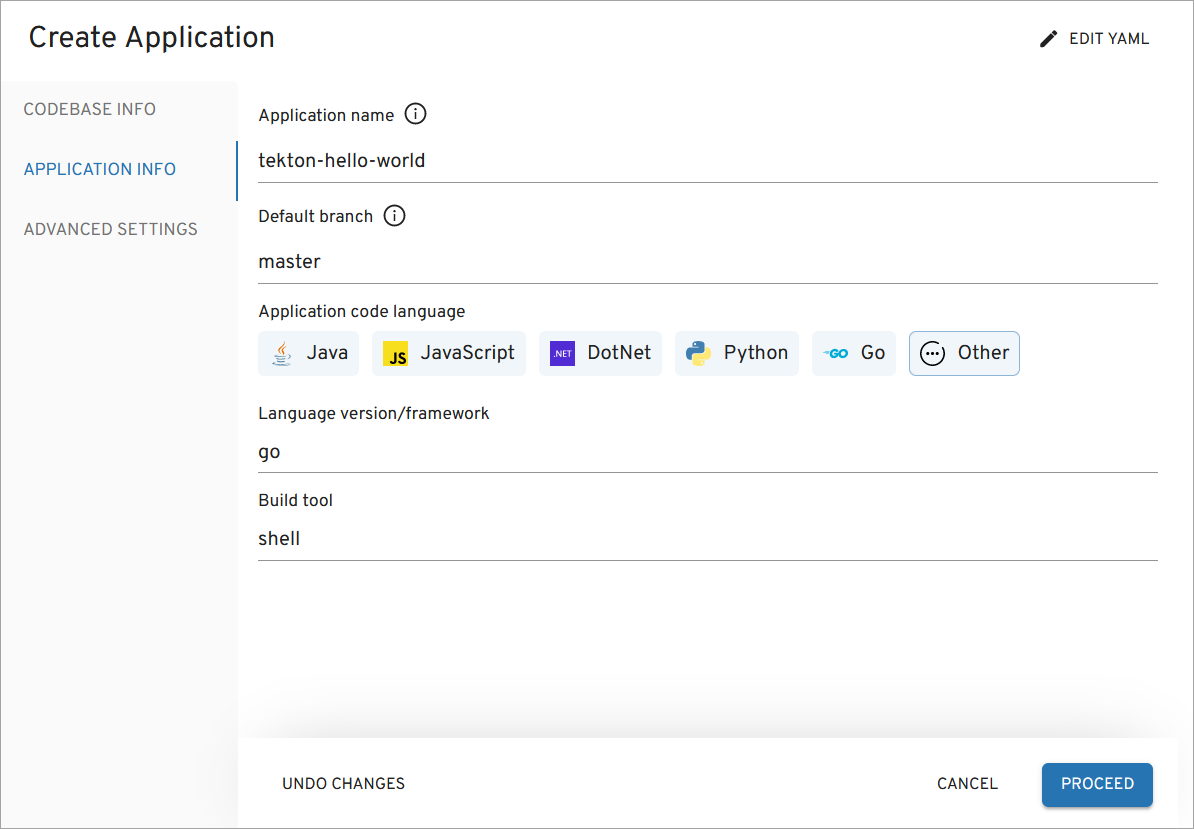
In the Application Info tab, define the following values and click the
Proceedbutton:- Application name:
tekton-hello-world - Default branch:
master - Application code language:
Other - Language version/framework:
go - Build tool:
shell
Note
These application details are required to match the Pipeline name
gerrit-shell-go-app-build-default.The PipelineRun name is formed with the help of TriggerTemplates in
The PipelineRun is created as soon as Gerrit (or, if configured, GitHub, GitLab) sends a payload during Merge Request events.pipelines-libraryso the Pipeline name should correspond to the following structure: - Application name:
-
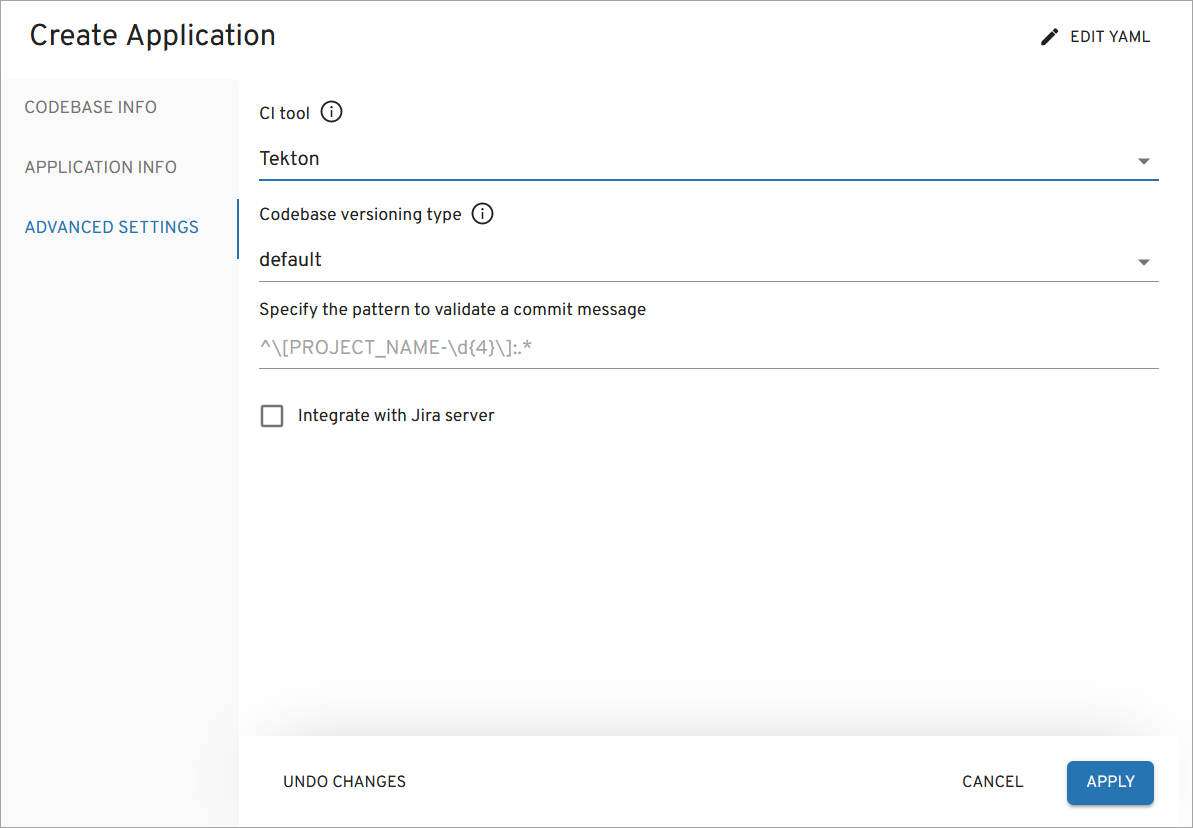
In the
Advances Settingstab, define the below values and click theApplybutton:- CI tool:
Tekton - Codebase versioning type:
default - Leave
Specify the pattern to validate a commit messageempty.
- CI tool:
-
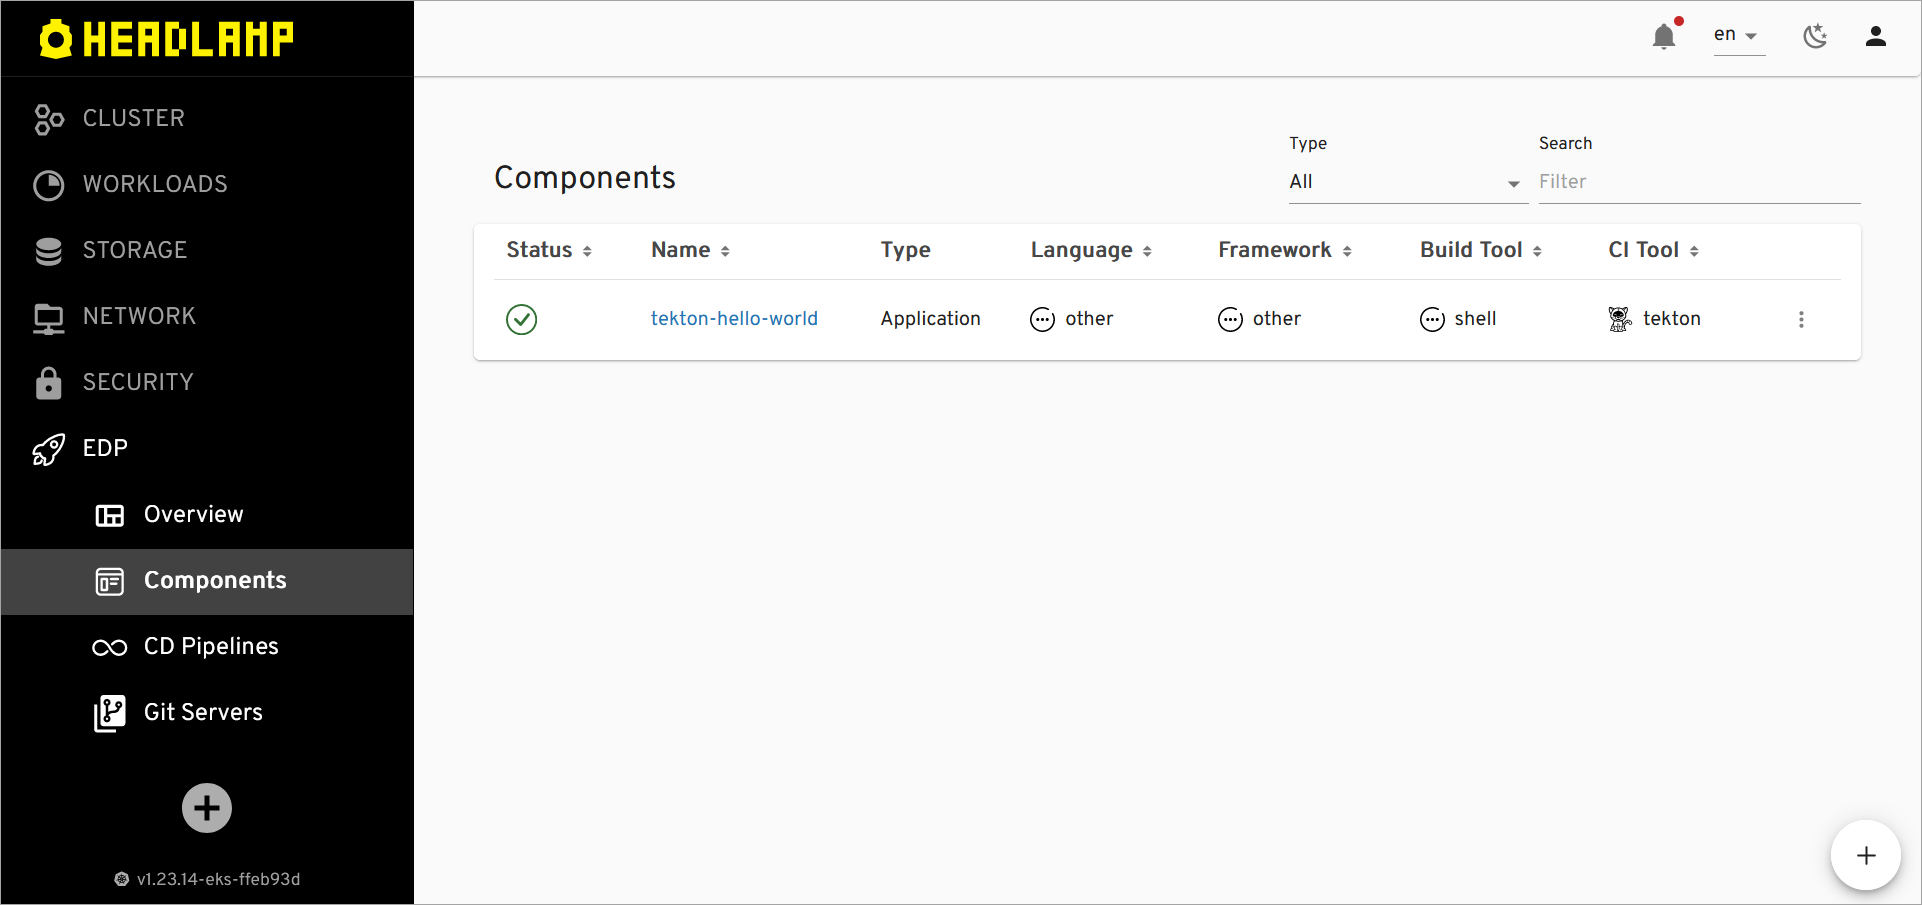
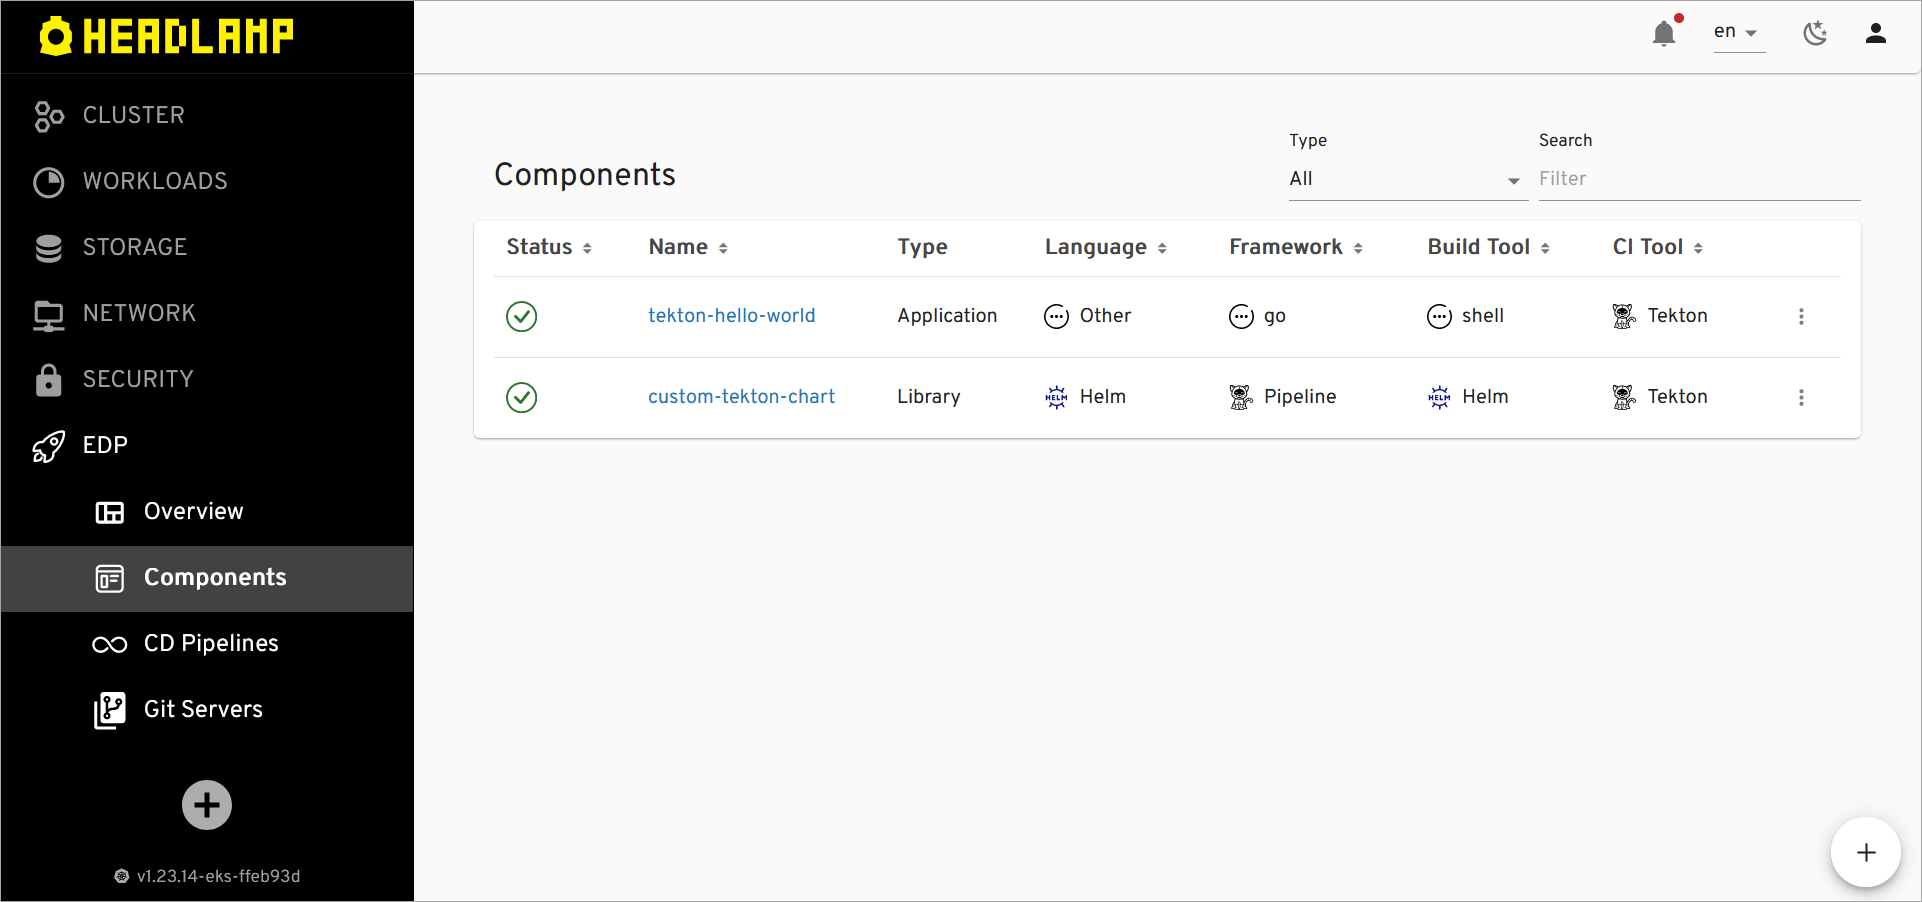
Check the application status. It should be green:
Now that the application is created successfully, proceed to adding the Tekton library.
Add Tekton Library⚓︎
-
Select the
Componentssection under the EDP tab and push the create+button: -
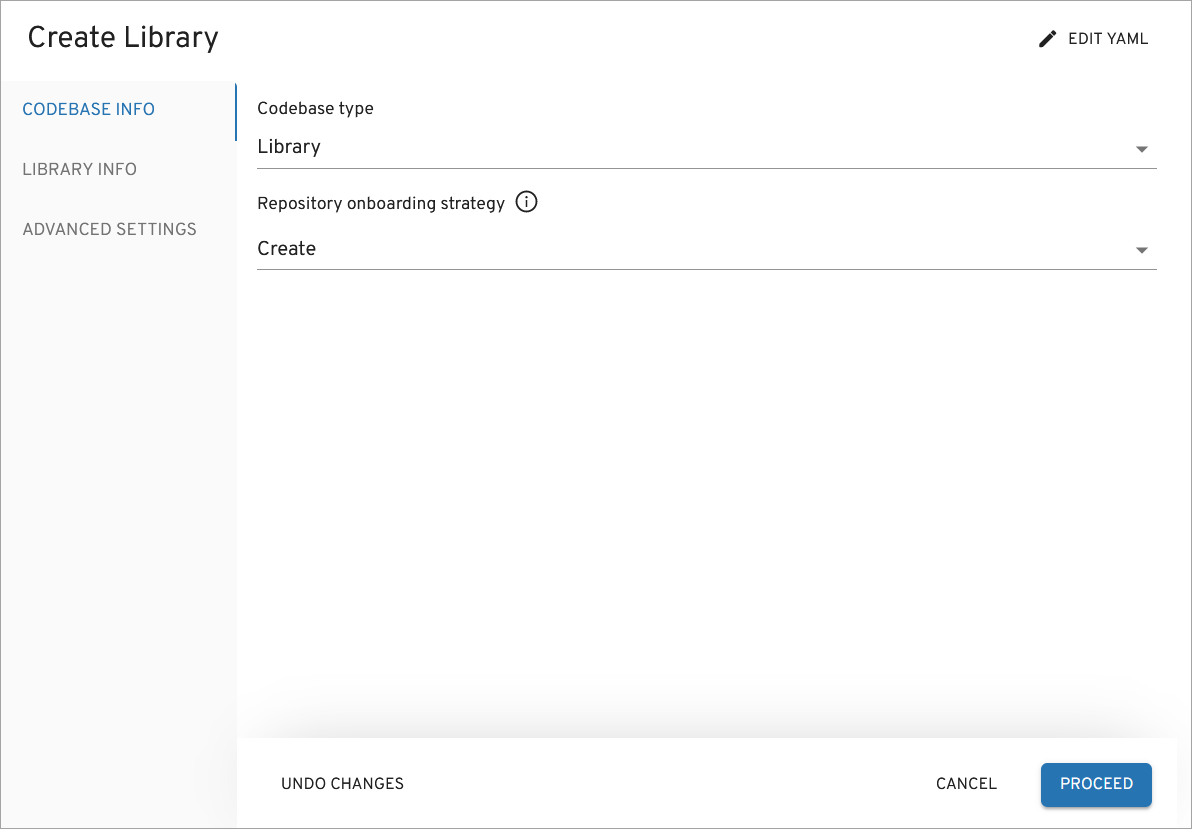
Create a new Codebase with the
Librarytype using theCreatestrategy:Note
The EDP Create strategy will automatically pull the code for the Tekton Helm application from here.
-
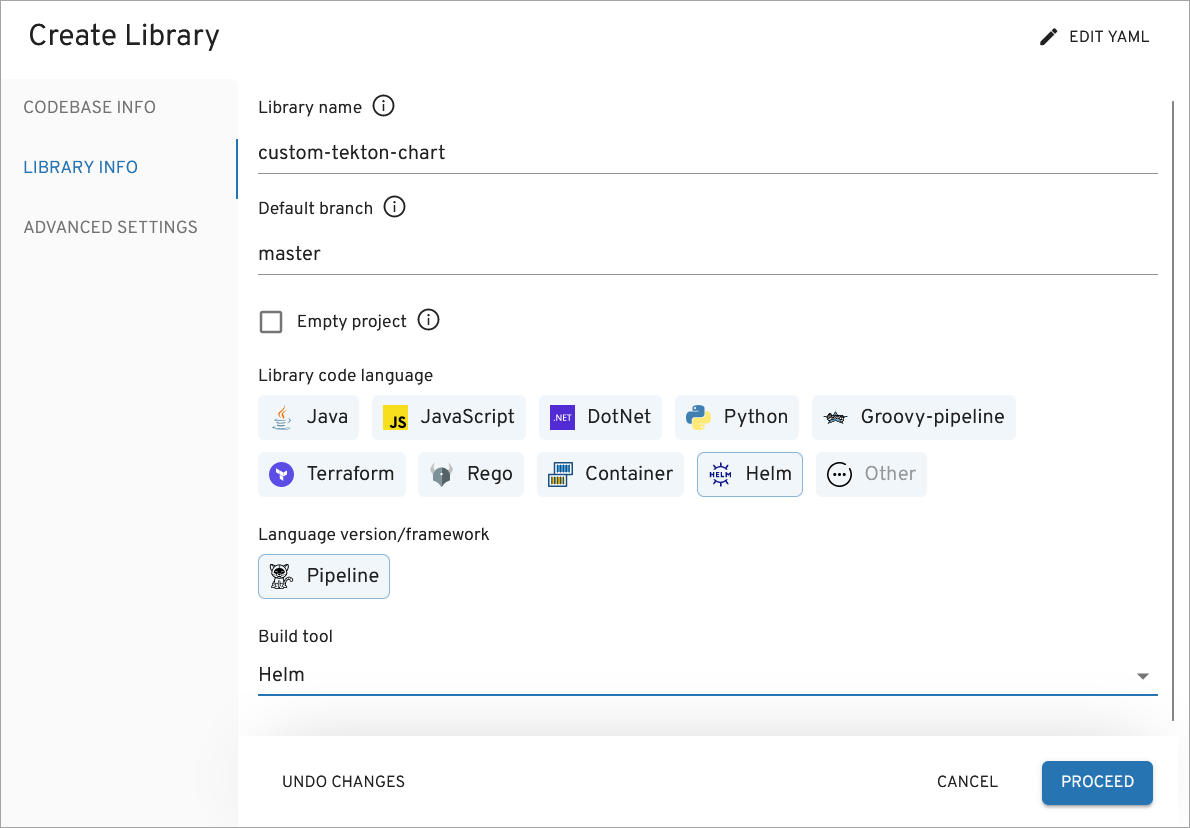
In the Application Info tab, define the following values and click the
Proceedbutton:- Application name:
custom-tekton-chart - Default branch:
master - Application code language:
Helm - Language version/framework:
Pipeline - Build tool:
Helm
- Application name:
-
In the
Advances Settingstab, define the below values and click theApplybutton:- CI tool:
Tekton - Codebase versioning type:
default - Leave
Specify the pattern to validate a commit messageempty.
- CI tool:
-
Check the codebase status:
Modify Tekton Pipeline⚓︎
Note
Our recommendation is to avoid modifying the default Tekton resources. Instead, we suggest creating and modifying your own custom Tekton library.
Now that the Tekton Helm library is created, it is time to clone, modify and then apply it to the Kubernetes cluster.
-
Generate SSH key to work with Gerrit repositories:
-
Log into Gerrit UI.
-
Go to Gerrit
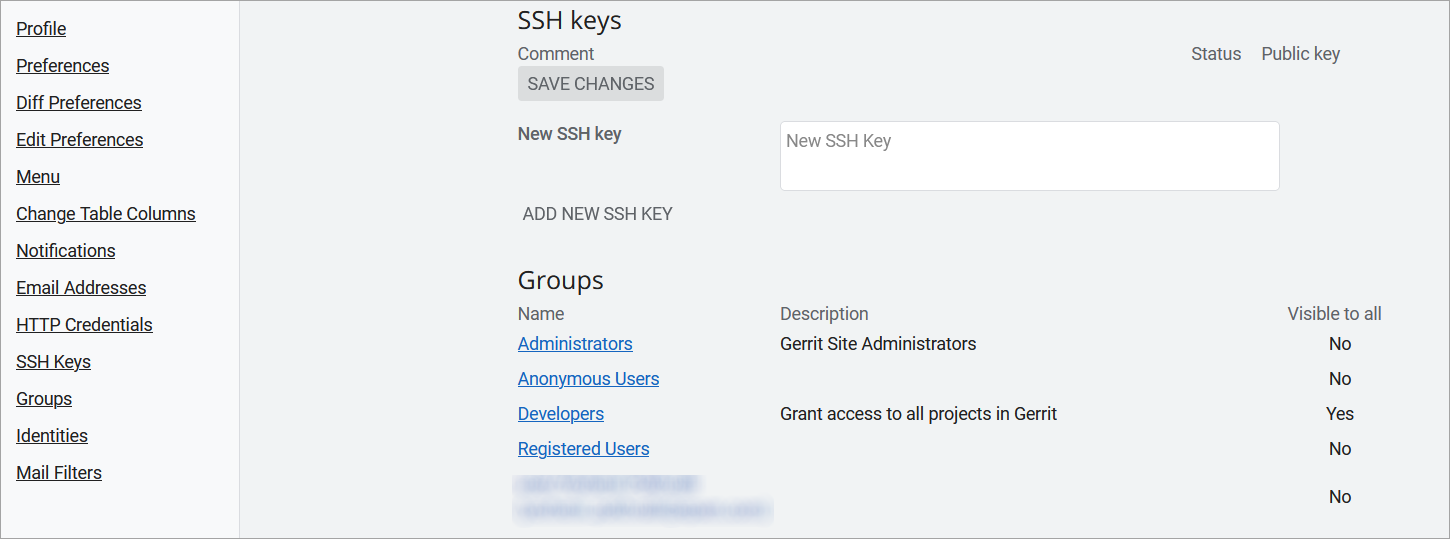
Settings->SSH keys, paste your generated public SSH key to theNew SSH keyfield and clickADD NEW SSH KEY: -
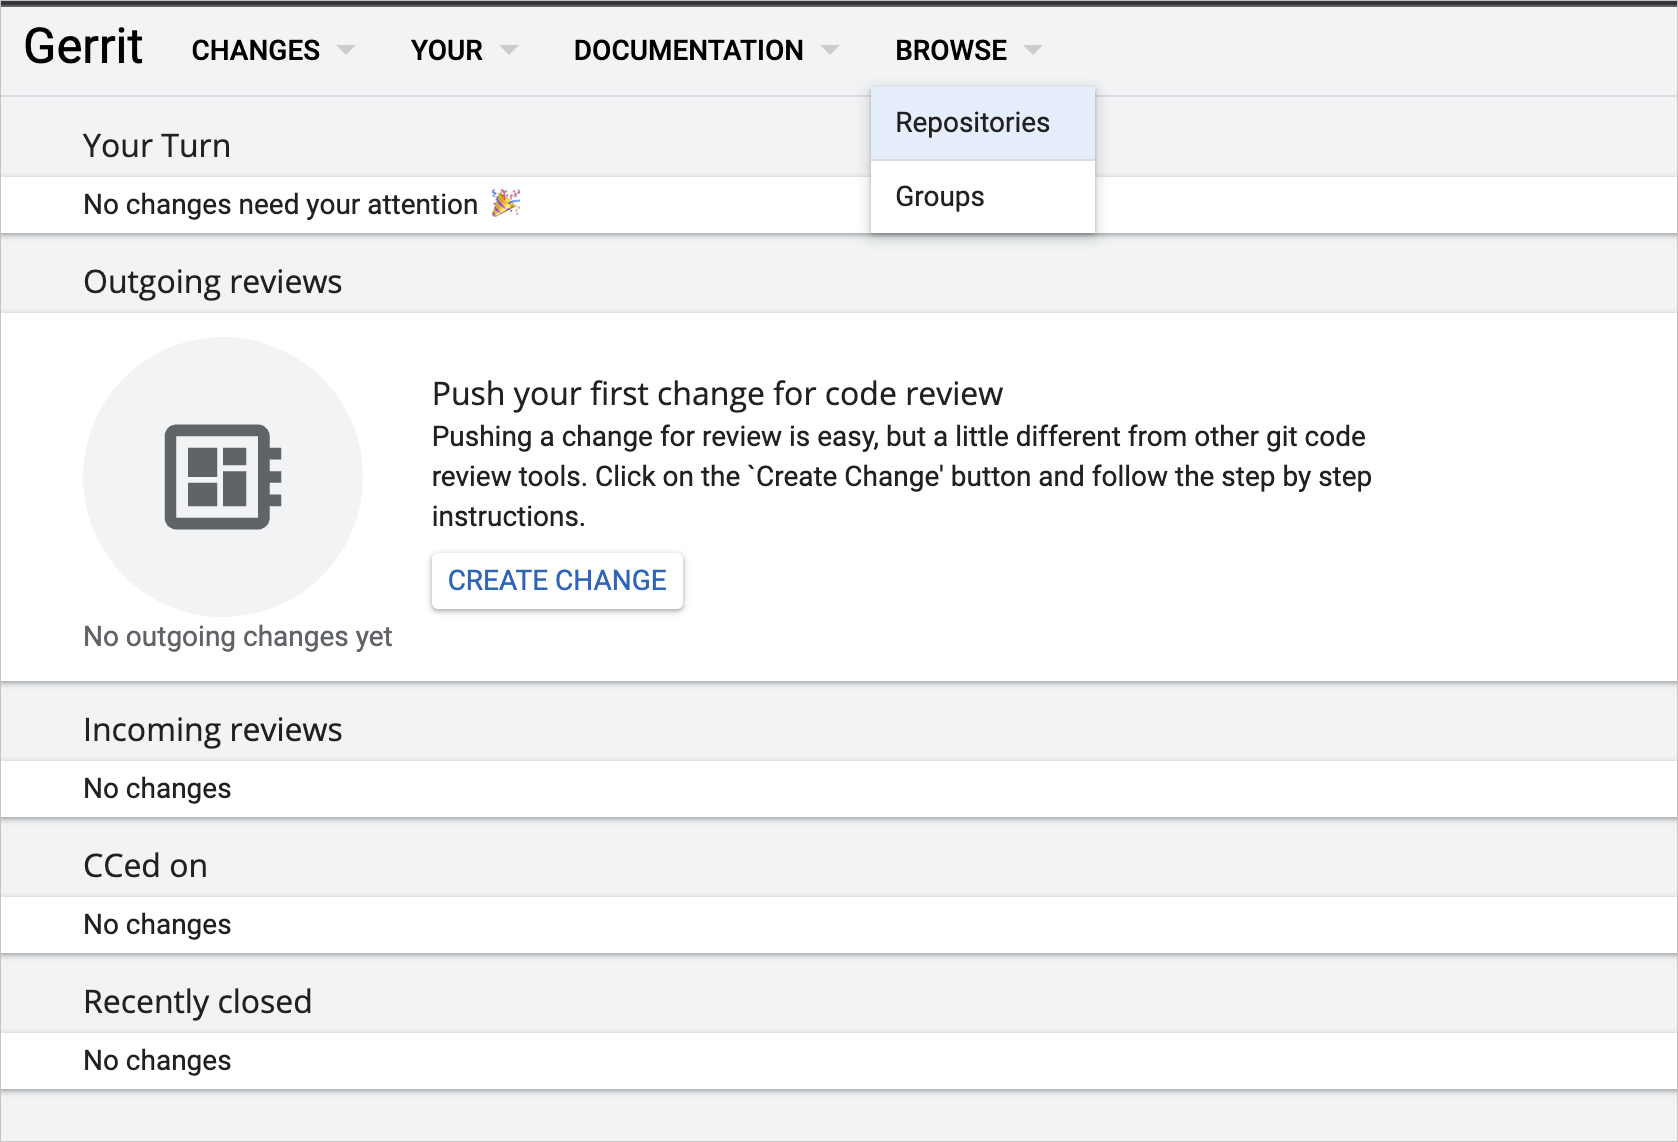
Browse Gerrit Repositories and select
custom-tekton-chartproject: -
Clone the repository with
SSHusingClone with commit-msg hookcommand:Note
In case of the strict firewall configurations, please use the
HTTPprotocol to pull and configure theHTTP Credentialsin Gerrit. -
Examine the repository structure. It should look this way by default:
custom-tekton-chart
  ├── Chart.yaml
  ├── chart_schema.yaml
  ├── ct.yaml
  ├── lintconf.yaml
  ├── templates
  │   ├── pipelines
  │   │   └── hello-world
  │   │       ├── gerrit-build-default.yaml
  │   │       ├── gerrit-build-edp.yaml
  │   │       ├── gerrit-build-lib-default.yaml
  │   │       ├── gerrit-build-lib-edp.yaml
  │   │       ├── gerrit-review-lib.yaml
  │   │       ├── gerrit-review.yaml
  │   │       ├── github-build-default.yaml
  │   │       ├── github-build-edp.yaml
  │   │       ├── github-build-lib-default.yaml
  │   │       ├── github-build-lib-edp.yaml
  │   │       ├── github-review-lib.yaml
  │   │       ├── github-review.yaml
  │   │       ├── gitlab-build-default.yaml
  │   │       ├── gitlab-build-edp.yaml
  │   │       ├── gitlab-build-lib-default.yaml
  │   │       ├── gitlab-build-lib-edp.yaml
  │   │       ├── gitlab-review-lib.yaml
  │   │       └── gitlab-review.yaml
  │   └── tasks
  │       └── task-hello-world.yaml
  └── values.yaml
Note
Change the values in the
values.yamlfile.The
gitProviderparameter is the git hosting provider, Gerrit in this example. The similar approach be made with GitHub, or GitLab.The dnsWildCard parameter is the cluster DNS address.
The gerritSSHPort parameter is the SSH port of the Gerrit service on Kubernetes. Check the Gerrit port in your edp installation global section.
Note
Our custom Helm chart includes edp-tekton-common-library dependencies in the
Chart.yamlfile. This library allows to use our predefined code snippets.Here is an example of the filled in
values.yamlfile: -
Modify and add tasks or pipelines.
As an example, let's assume that we need to add the
helm-lintpipeline task to the review pipeline. To implement this, insert the code below to the gerrit-review.yaml file underneath the hello task:- name: hello taskRef: name: hello runAfter: - init-values params: - name: BASE_IMAGE value: "$(params.shell-image-version)" - name: username value: "$(params.username)" workspaces: - name: source workspace: shared-workspace - name: helm-lint taskRef: kind: Task name: helm-lint runAfter: - hello params: - name: EXTRA_COMMANDS value: | ct lint --validate-maintainers=false --charts deploy-templates/ workspaces: - name: source workspace: shared-workspaceNote
The
helm-linttask references to the defaultpipeline-libraryHelm chart which is applied to the cluster during EDP installation.The
runAfterparameter shows that this Pipeline task will be run after thehellopipeline task. -
Build Helm dependencies in the custom chart:
-
Ensure that the chart is valid and all the indentations are fine:
To validate if the values are substituted in the templates correctly, render the templated YAML files with the values using the following command. It generates and displays all the manifest files with the substituted values:
-
Install the custom chart with the command below. You can also use the
--dry-runflag to simulate the chart installation and catch possible errors: -
Check the created pipelines and tasks in the cluster:
-
Commit and push the modified Tekton Helm chart to Gerrit:
-
Check the Gerrit code review for the custom Helm chart pipelines repository in Tekton:
-
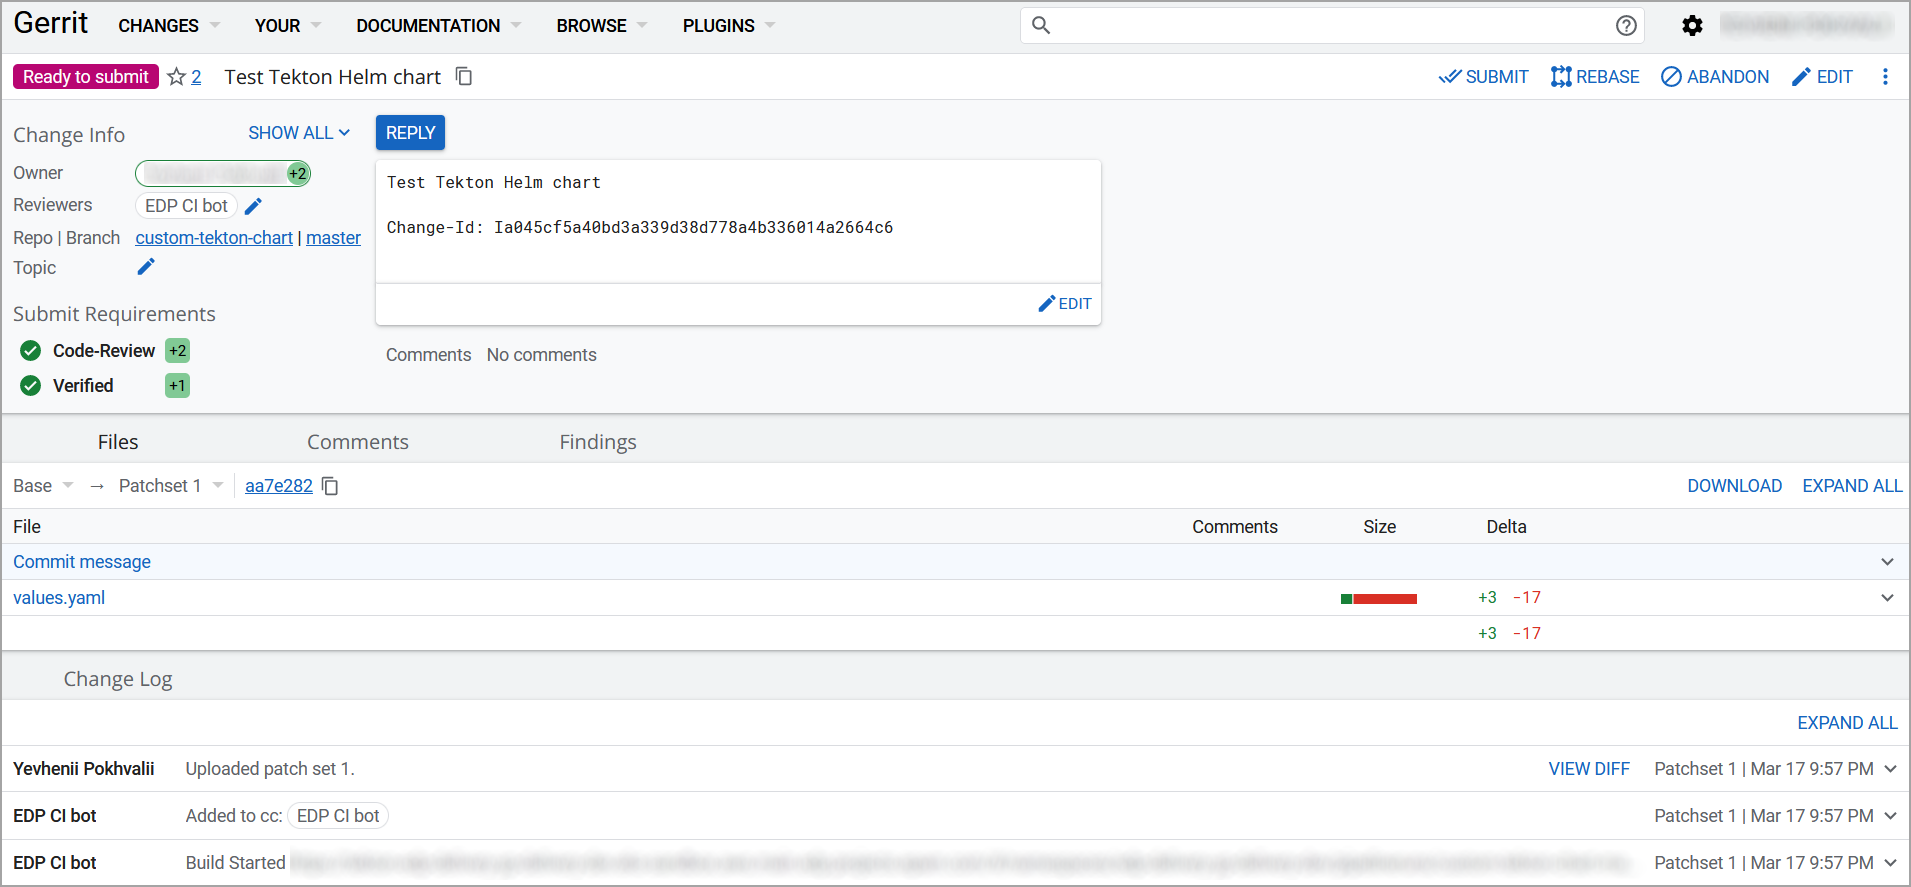
Go to
Changes->Open, clickCODE-REVIEWand submit the merge request: -
Check the build Pipeline status for the custom Pipelines Helm chart repository in Tekton:
Create Application Merge Request⚓︎
Since we applied the Tekton library to the Kubernetes cluster in the previous step, let's test the review and build pipelines for our tekton-hello-world application.
Perform the below steps to merge new code (Merge Request) that passes the Code Review flow. For the steps below, we use Gerrit UI but the same actions can be performed using the command line and Git tool:
-
Log into Gerrit UI, select
tekton-hello-worldproject, and create a change request. -
Browse Gerrit Repositories and select
tekton-hello-worldproject: -
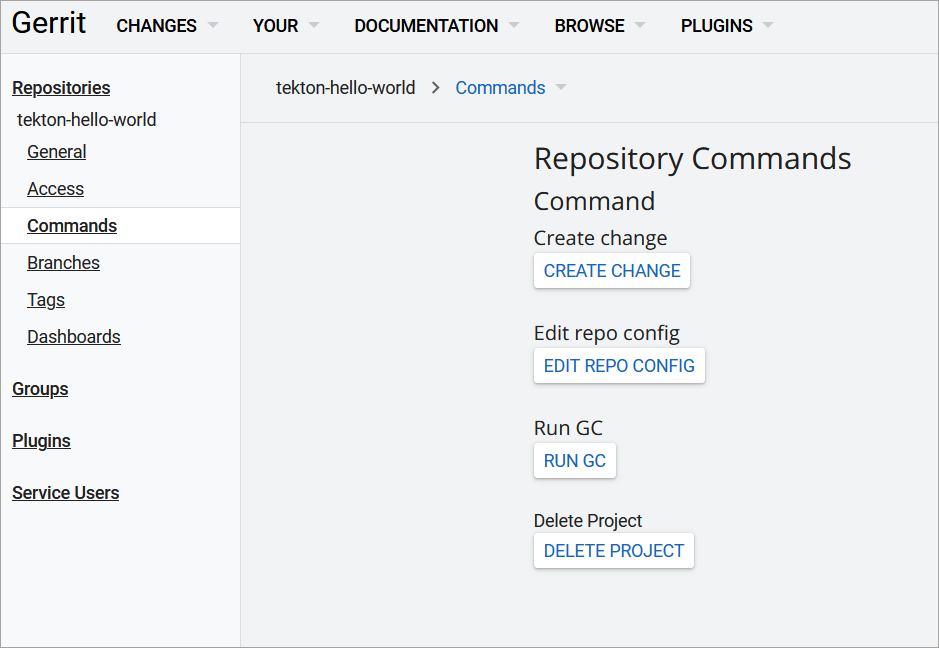
Clone the
tekton-hello-worldrepository to make the necessary changes or click theCreate Changebutton in theCommandssection of the project to make changes via Gerrit GUI: -
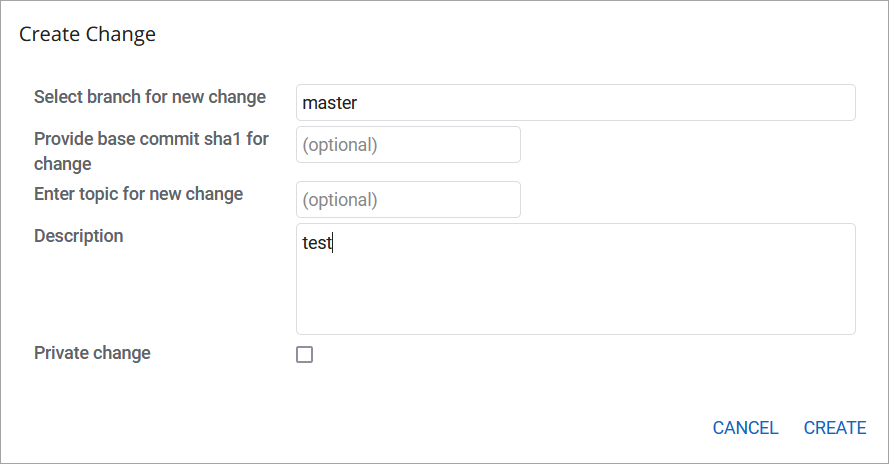
In the
Create Changedialog, provide the branchmaster, write some text in theDescription(commit message) and click theCreatebutton: -
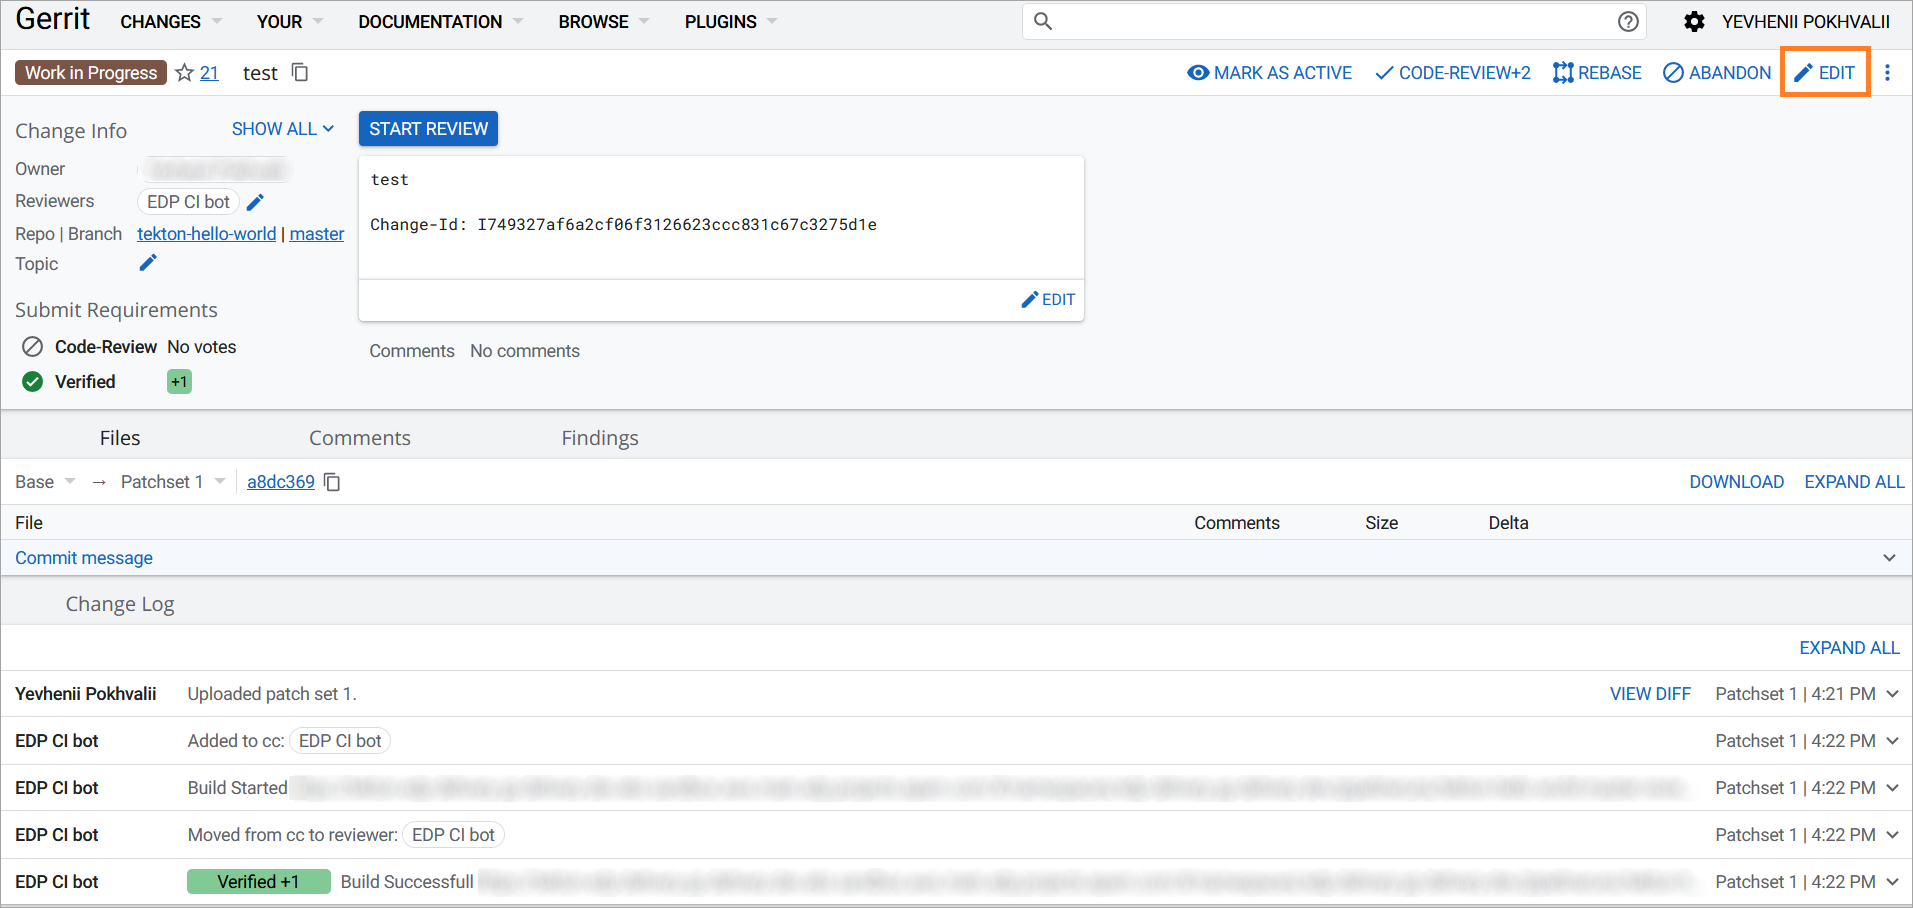
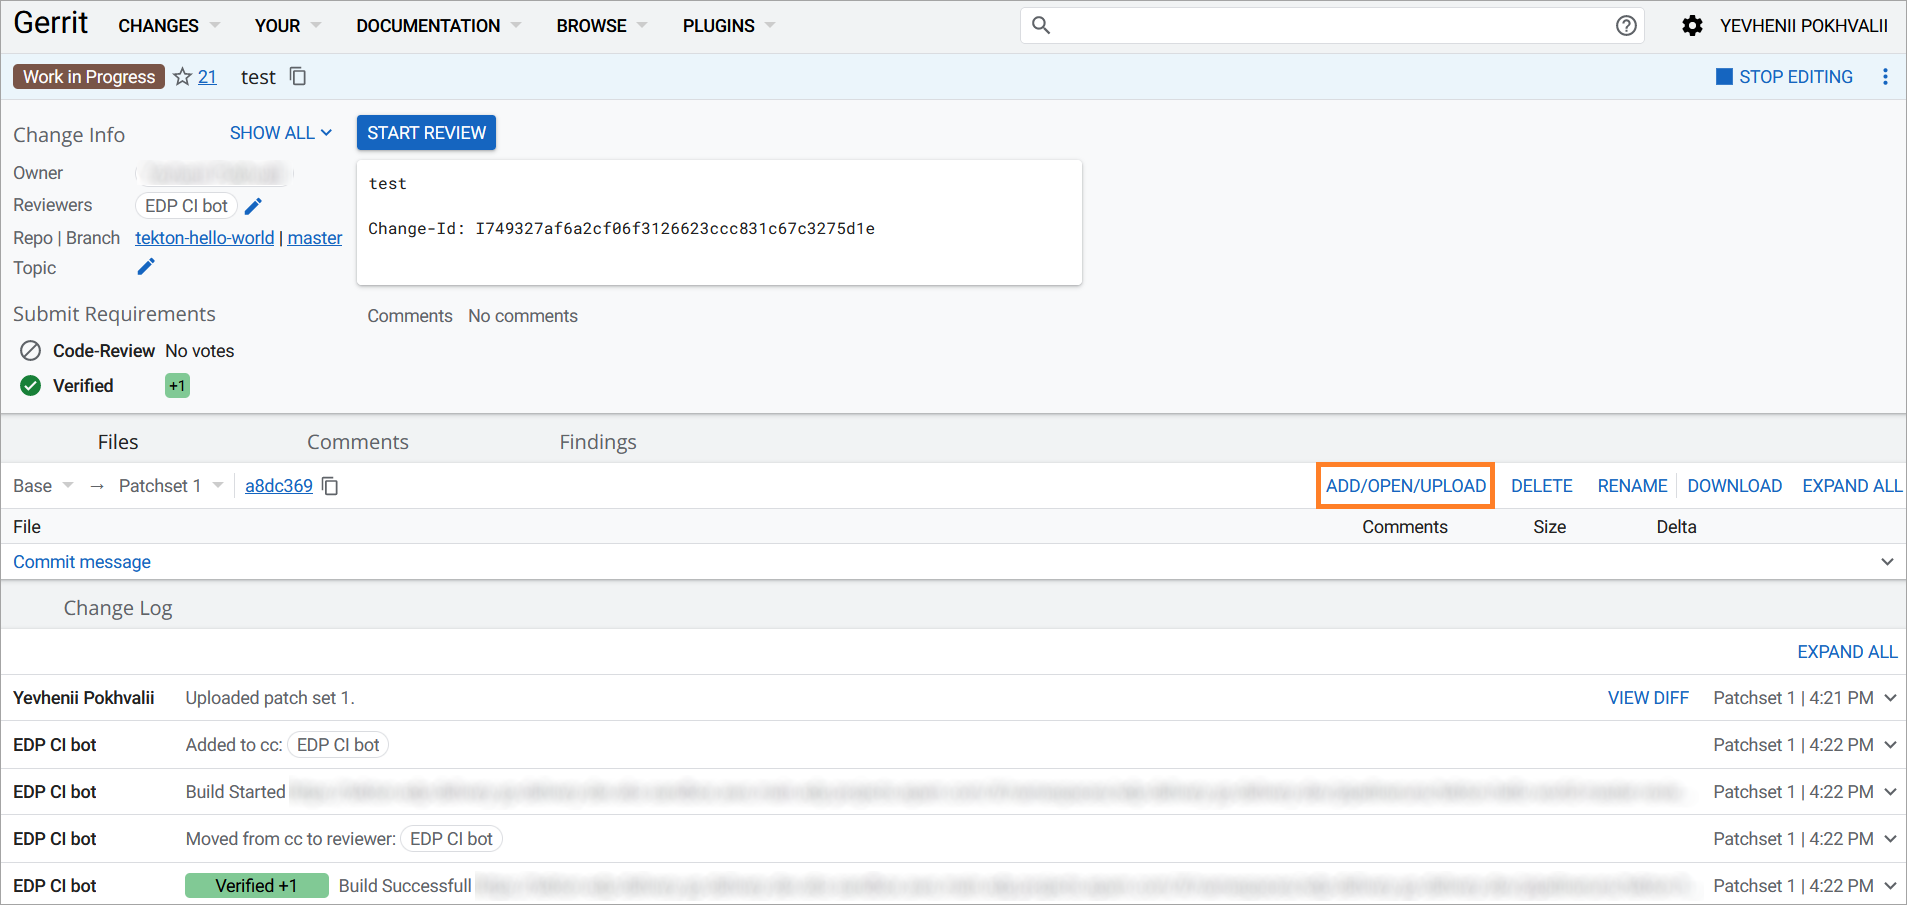
Click the
Editbutton of the merge request and adddeployment-templates/values.yamlto modify it and change theingress.enabled flagfromfalsetotrue: -
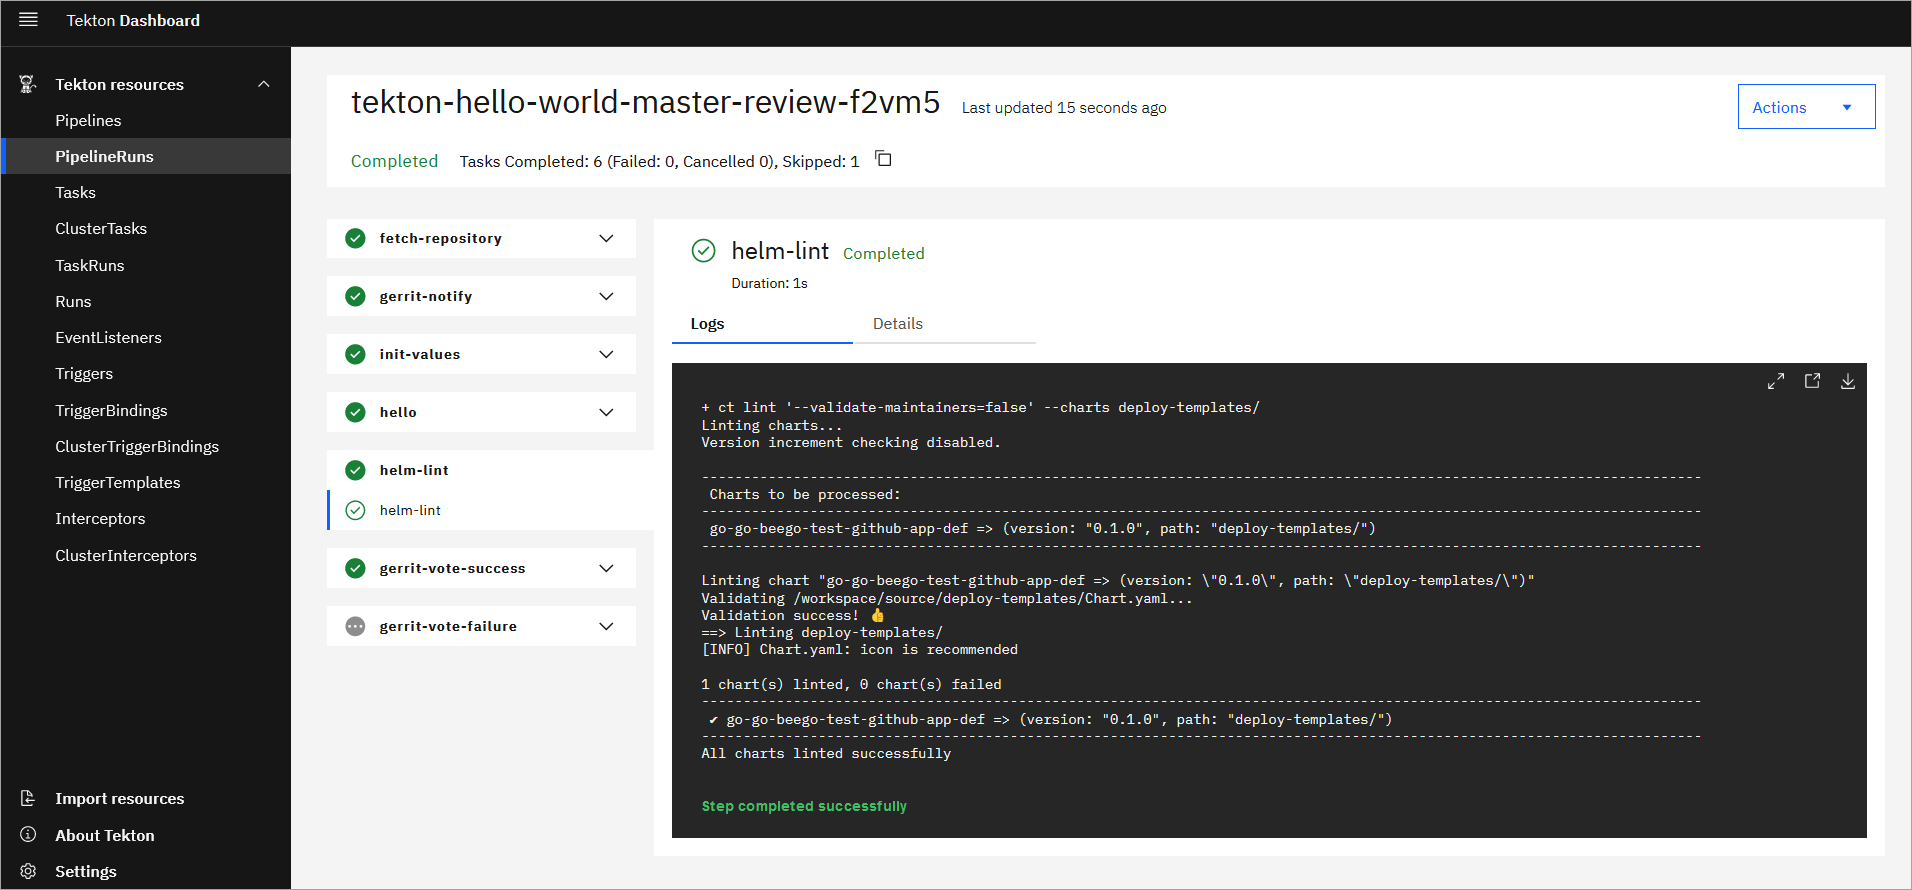
Check the Review Pipeline status. The
helm-lintpipeline task should be displayed there: -
Review the
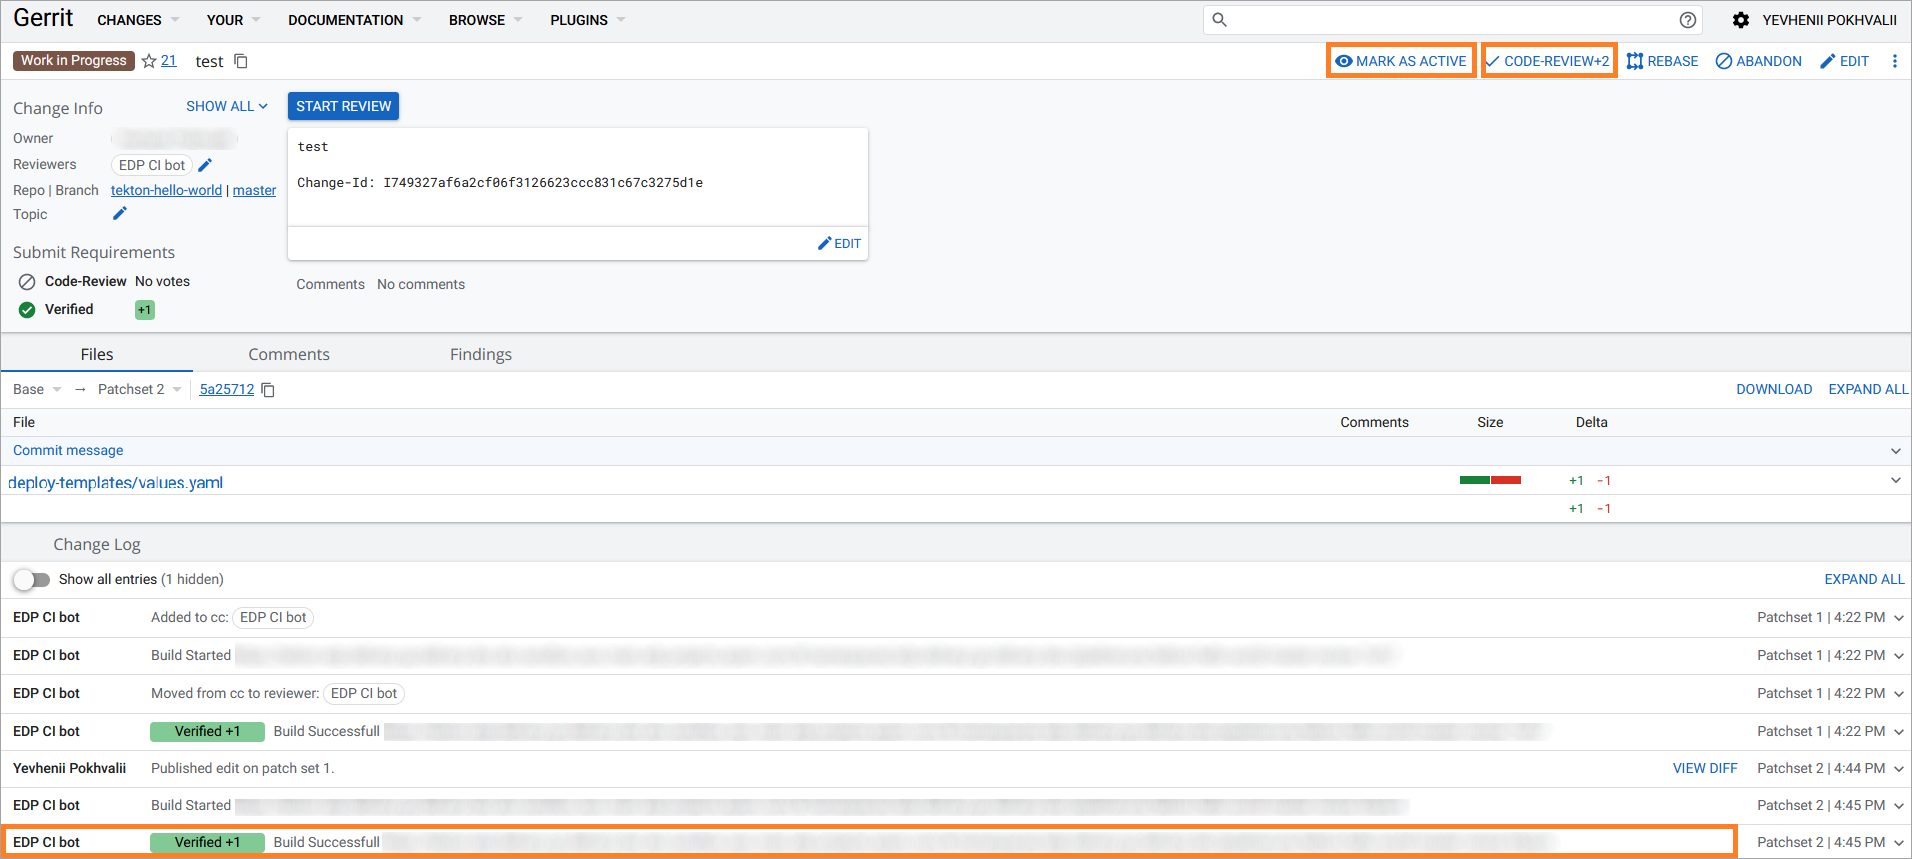
deployment-templates/values.yamlfile and push theSAVE & PUBLISHbutton. As soon as you getVerified +1from CI bot, the change is ready for review. Click theMark as ActiveandCode-reviewbuttons: -
Click the
Submitbutton. Then, your code is merged to the main branch, triggering the Build Pipeline.Note
If the build is added and configured, push steps in the pipeline, it will produce a new version of artifact, which will be available for the deployment in EDP Portal.
-
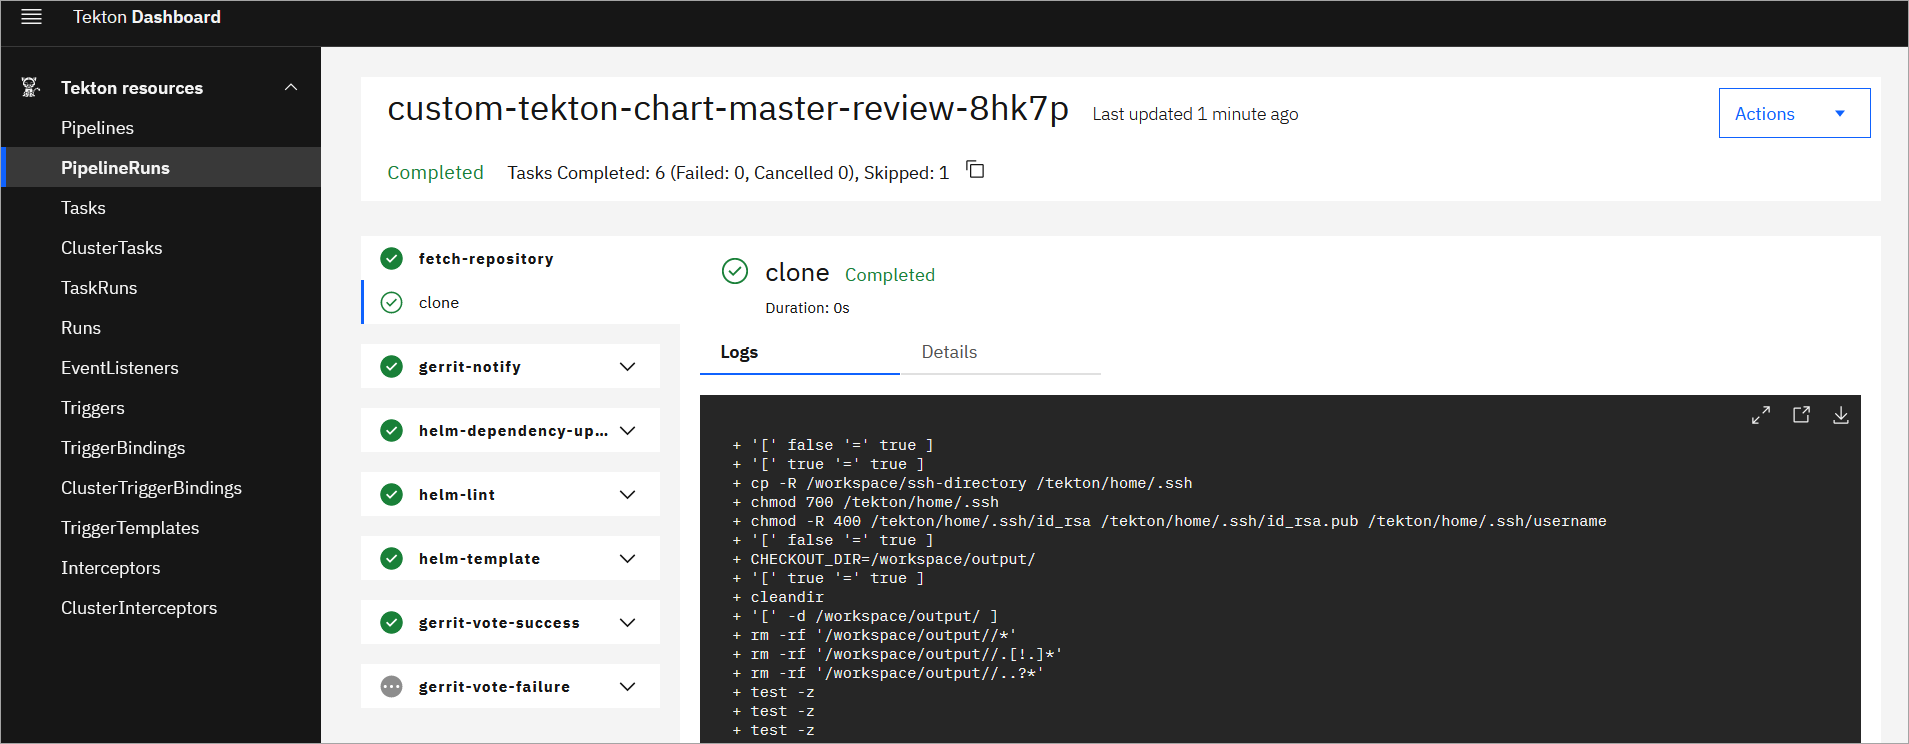
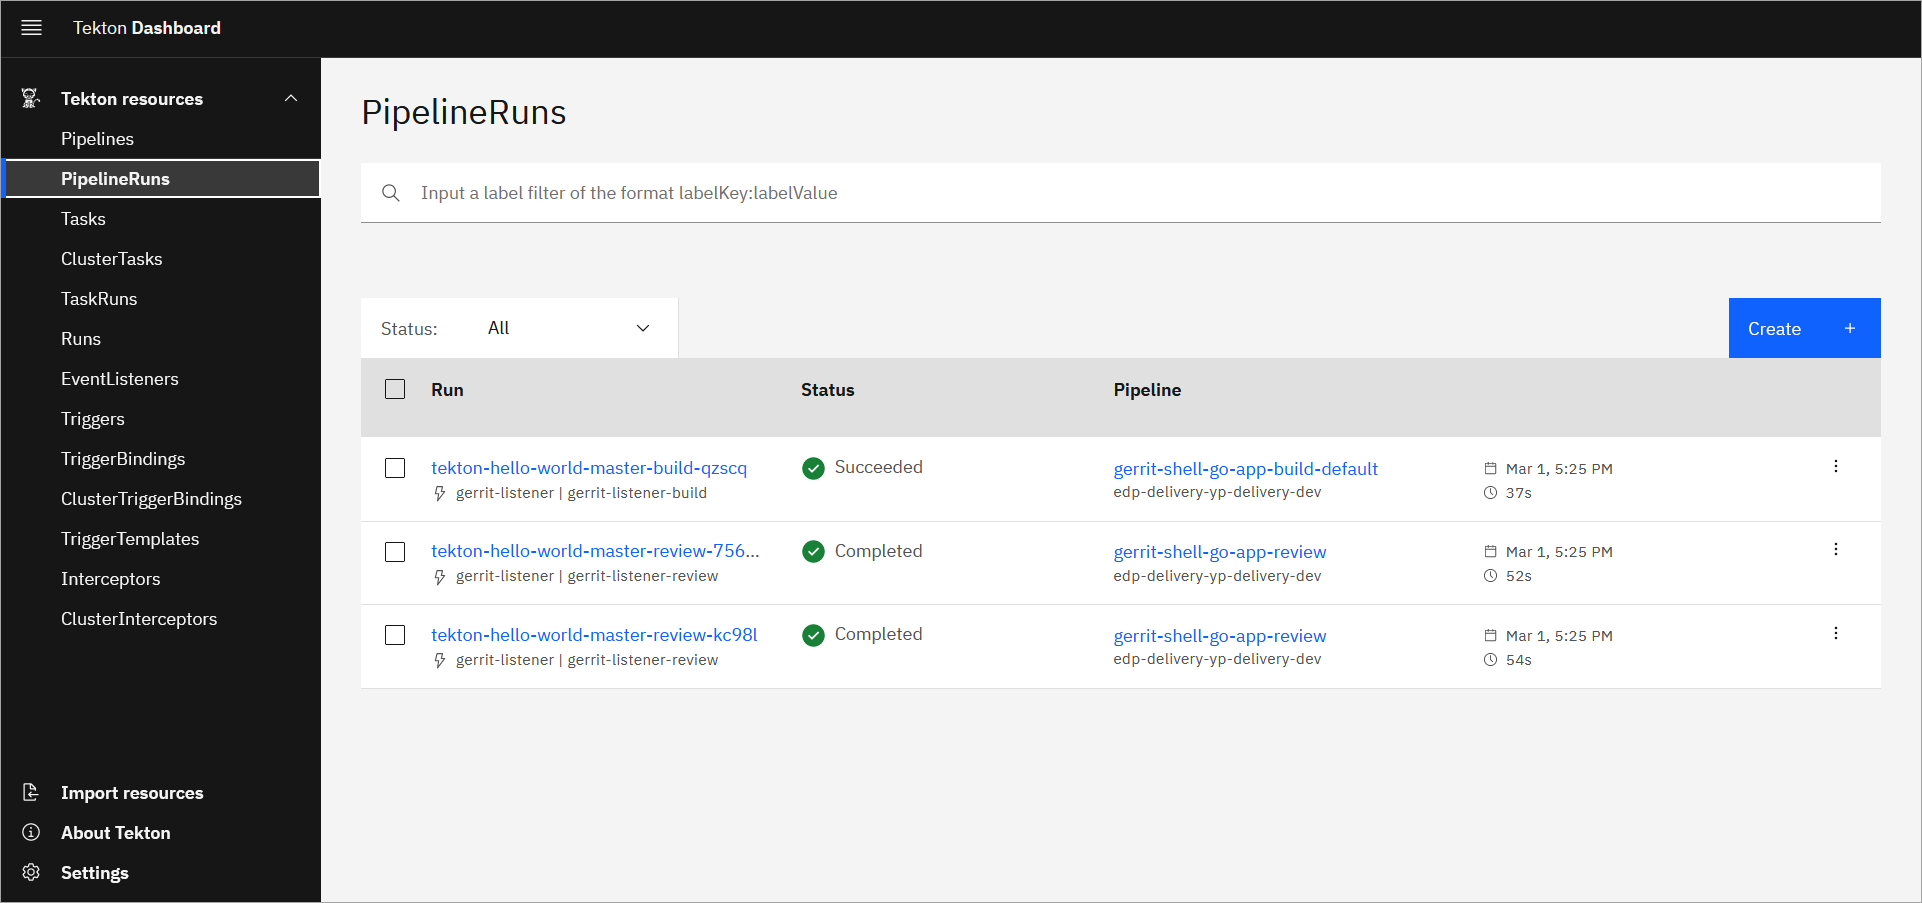
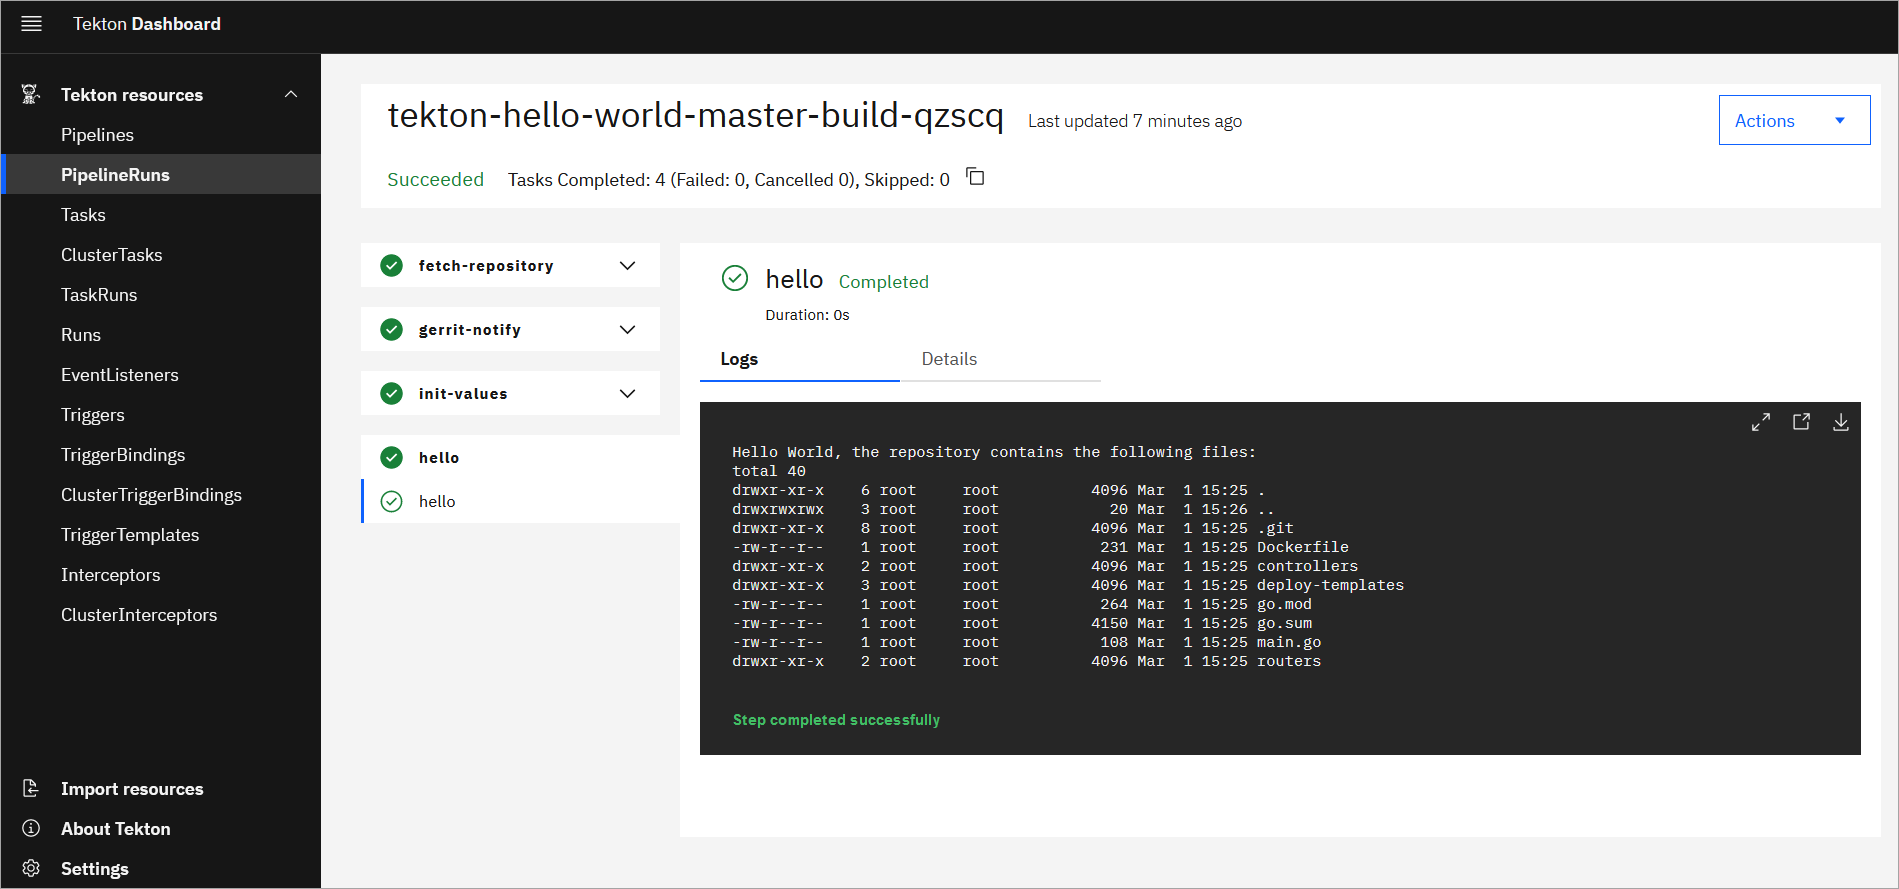
Check the pipelines in the Tekton dashboard:
What happens under the hood:
1) Gerrit sends a payload during Merge Request event to the Tekton EventListener;
2) EventListener catches it with the help of Interceptor;
3) TriggerTemplate creates a PipelineRun.
The detailed scheme is shown below:
graph LR;
    A[Gerrit events] --> |Payload| B(Tekton EventListener) --> C(Tekton Interceptor CEL filter) --> D(TriggerTemplate)--> E(PipelineRun)
This chart will be using the core of common-library and pipelines-library and custom resources on the top of them.

