Integrate Harbor With EDP Pipelines⚓︎
Harbor serves as a tool for storing images and artifacts. This documentation contains instructions on how to create a project in Harbor and set up a robot account for interacting with the registry from CI pipelines.
Overview⚓︎
Harbor integration with Tekton enables the centralized storage of container images within the cluster, eliminating the need for external services. By leveraging Harbor as the container registry, users can manage and store their automation results and reports in one place.
Integration Procedure⚓︎
The integration process involves two steps:
-
Creating a project to store application images.
-
Creating two accounts with different permissions to push (read/write) and pull (read-only) project images.
Create New Project⚓︎
The process of creating new projects is the following:
- Log in to the Harbor console using your credentials.
-
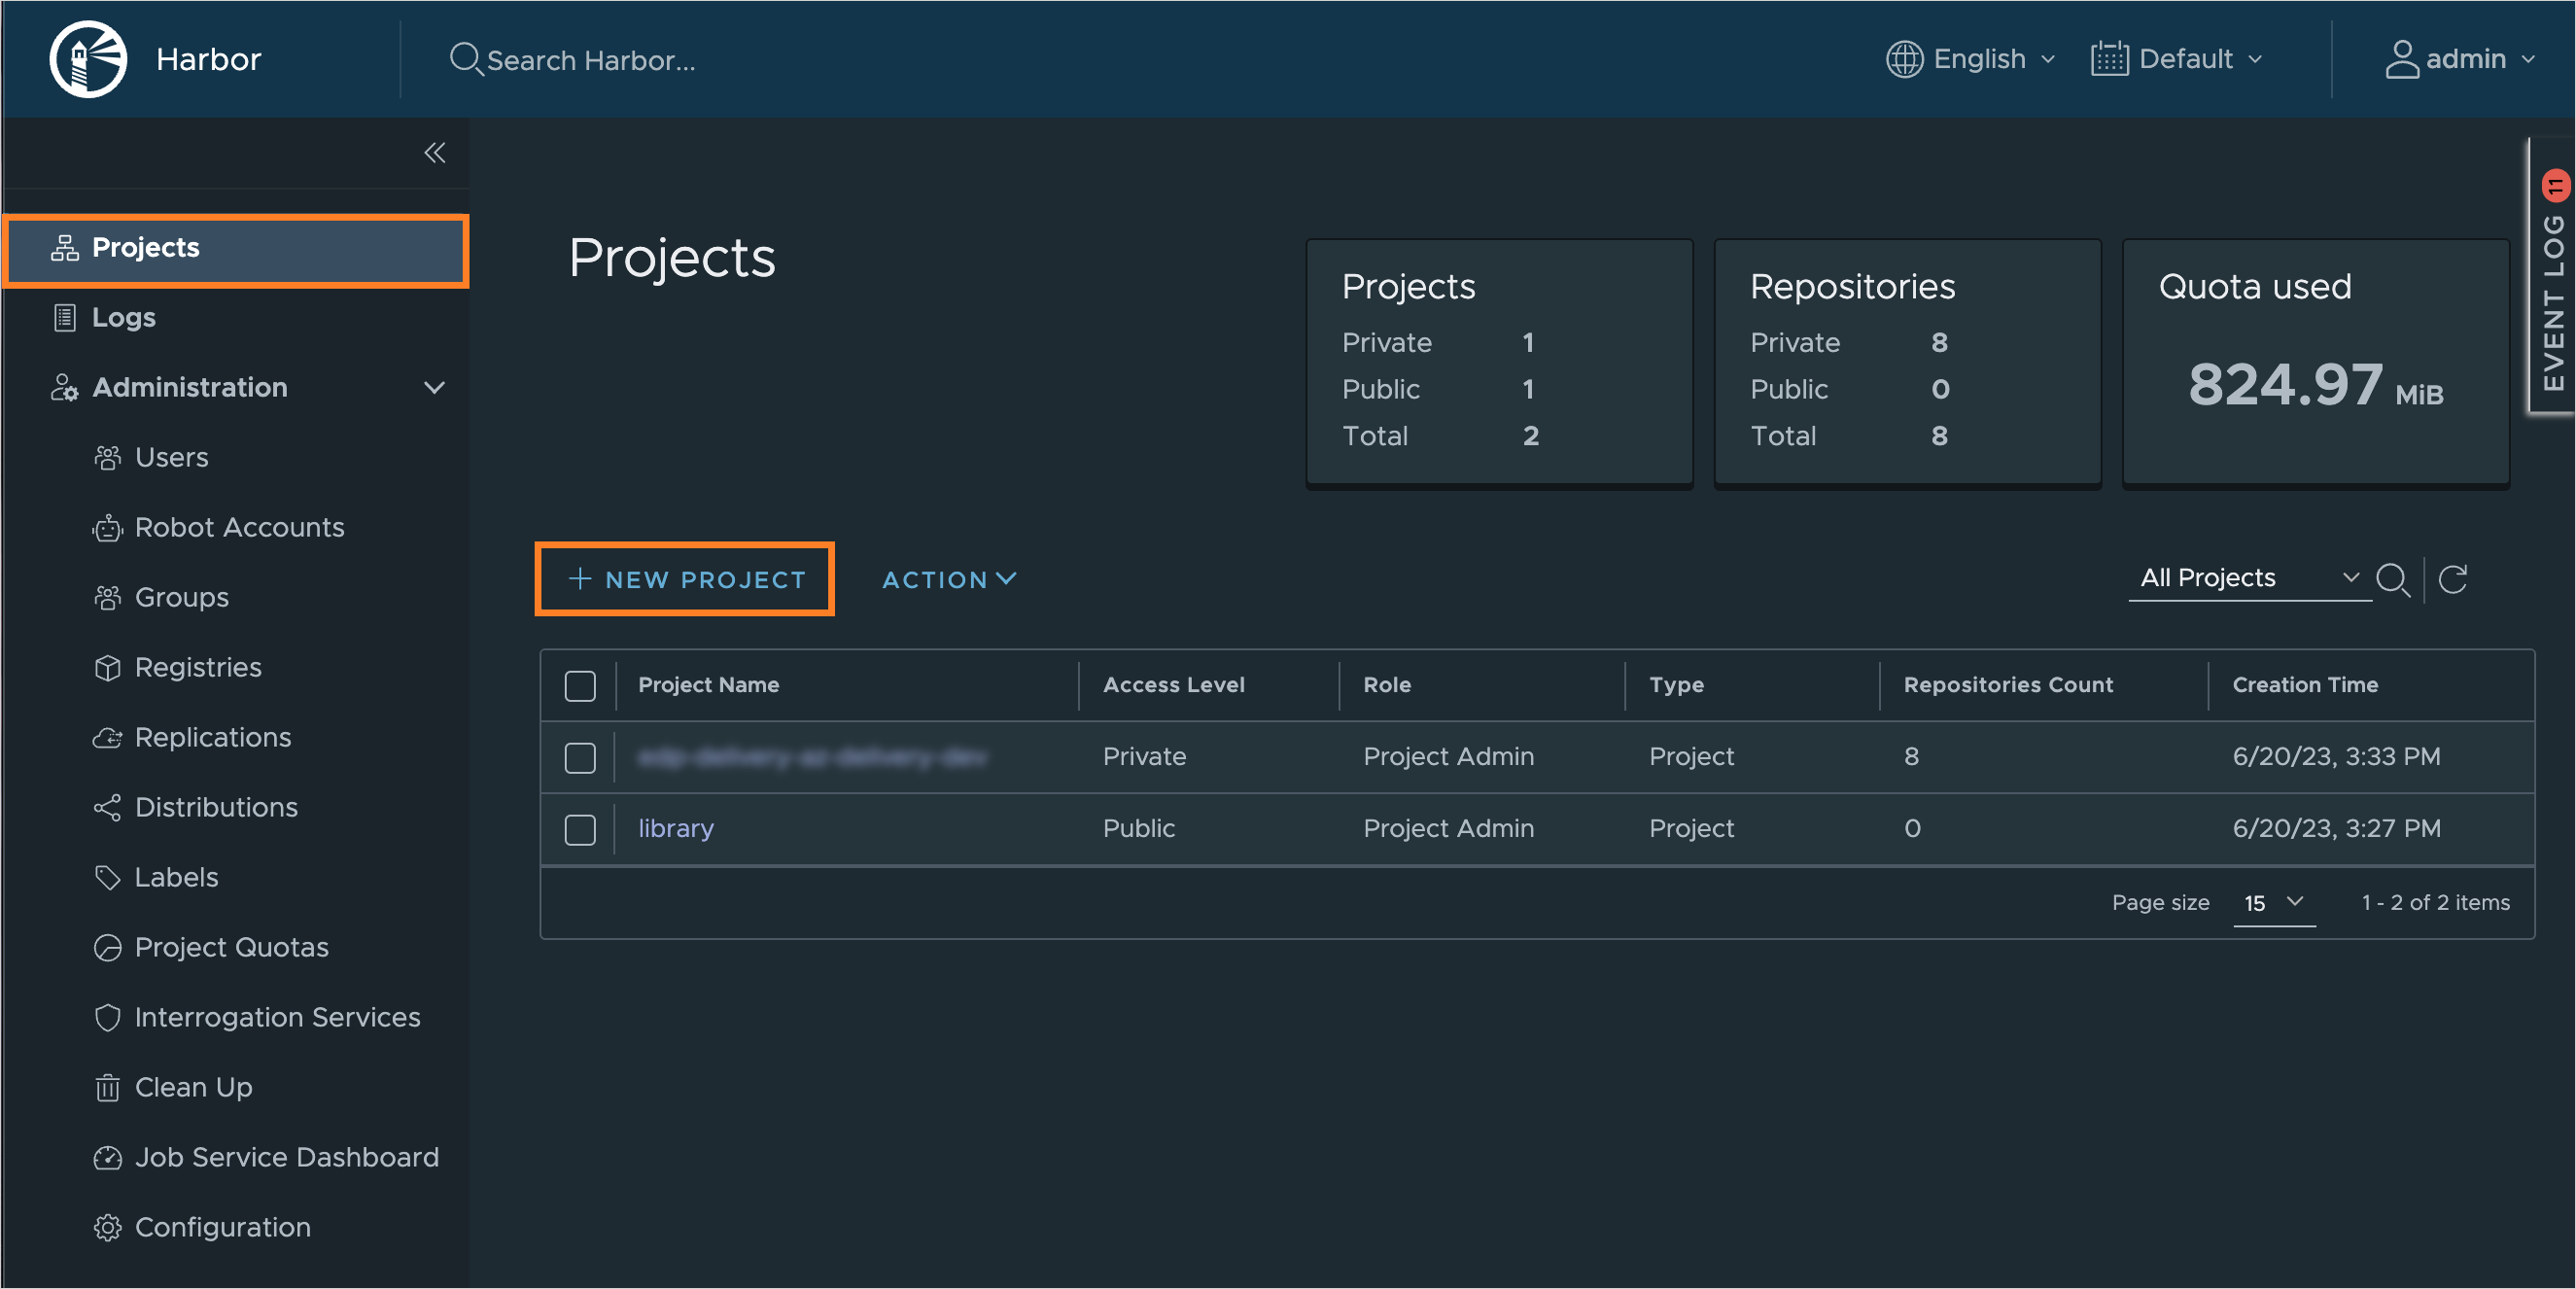
Navigate to the Projects menu, click the New Project button:
-
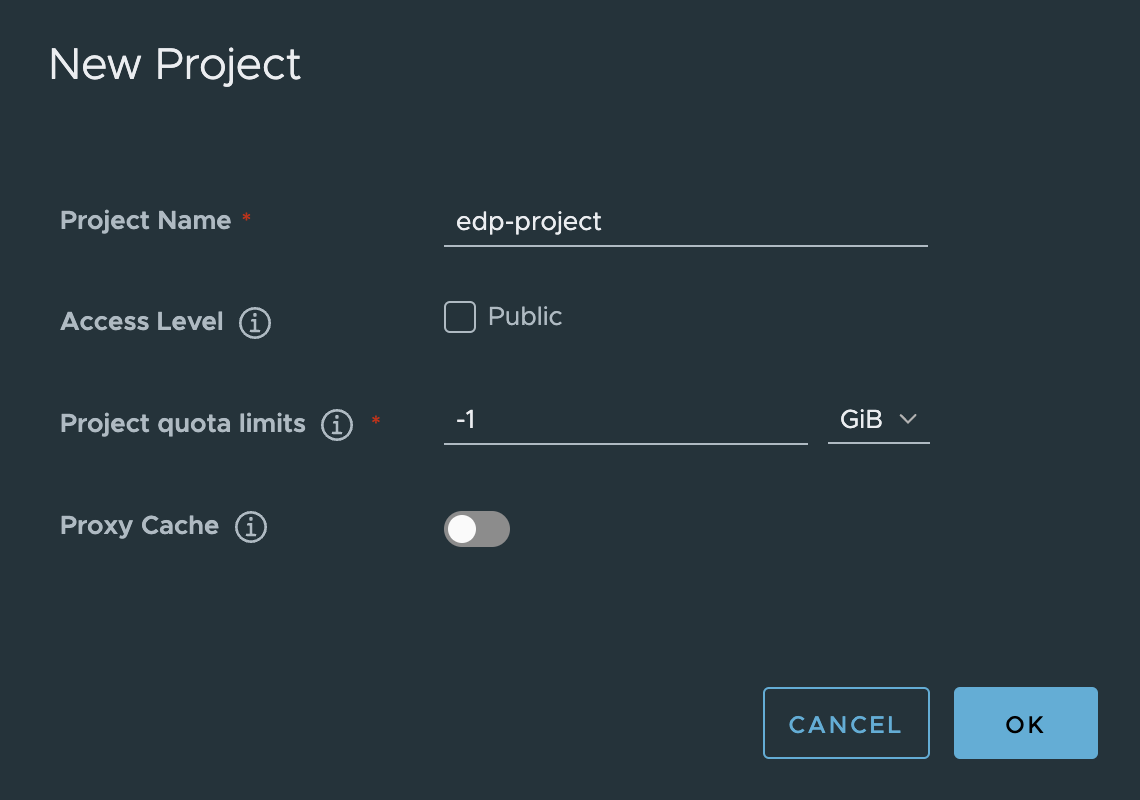
On the New Project menu, enter a project name that matches your EDP namespace in the Project Name field. Keep other fields as default and click OK to continue:
Set Up Robot Account⚓︎
To make EDP and Harbor project interact with each other, set up a robot account:
-
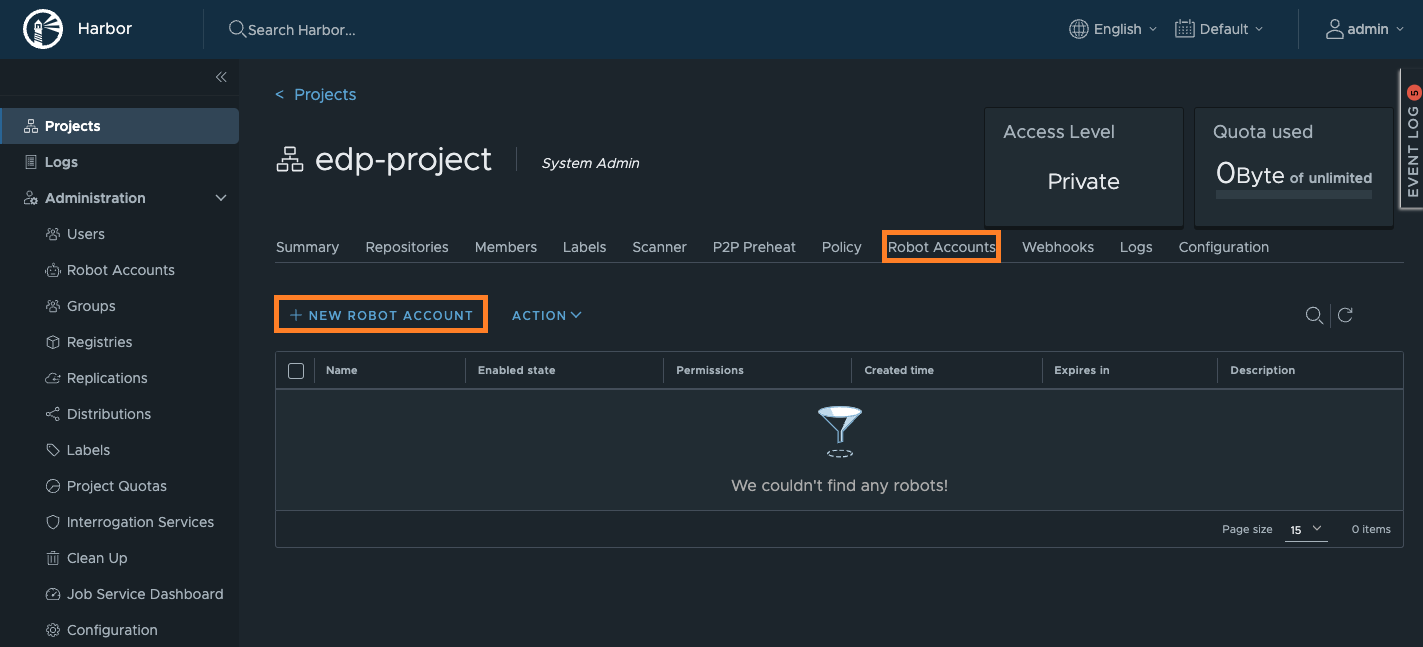
Navigate to your newly created project, select Robot Accounts menu and choose New Robot Account:
-
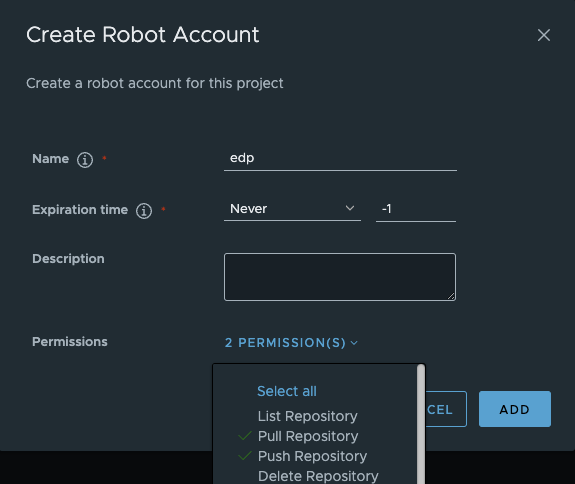
In the pop-up window, fill in the fields as follows:
- Name -
edp-push; - Expiration time - set the value which is aligned with your organization policy;
- Description -
read/write permissions; - Permissions -
Pull RepositoryandPush Repository.
To proceed, click the ADD button:
- Name -
-
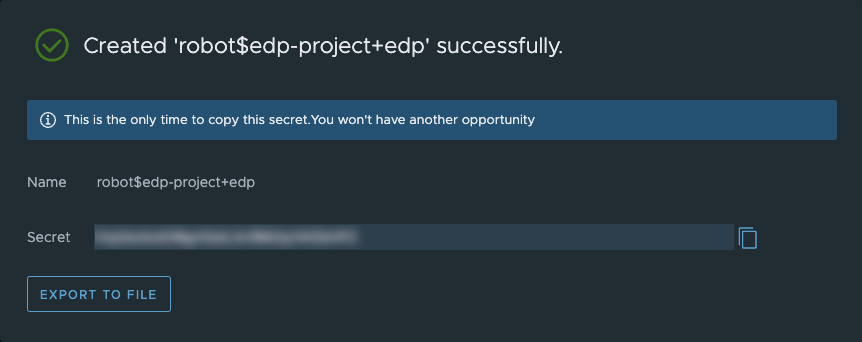
In the appeared window, copy the robot account credentials or click the Export to file button to save the secret and account name locally:
-
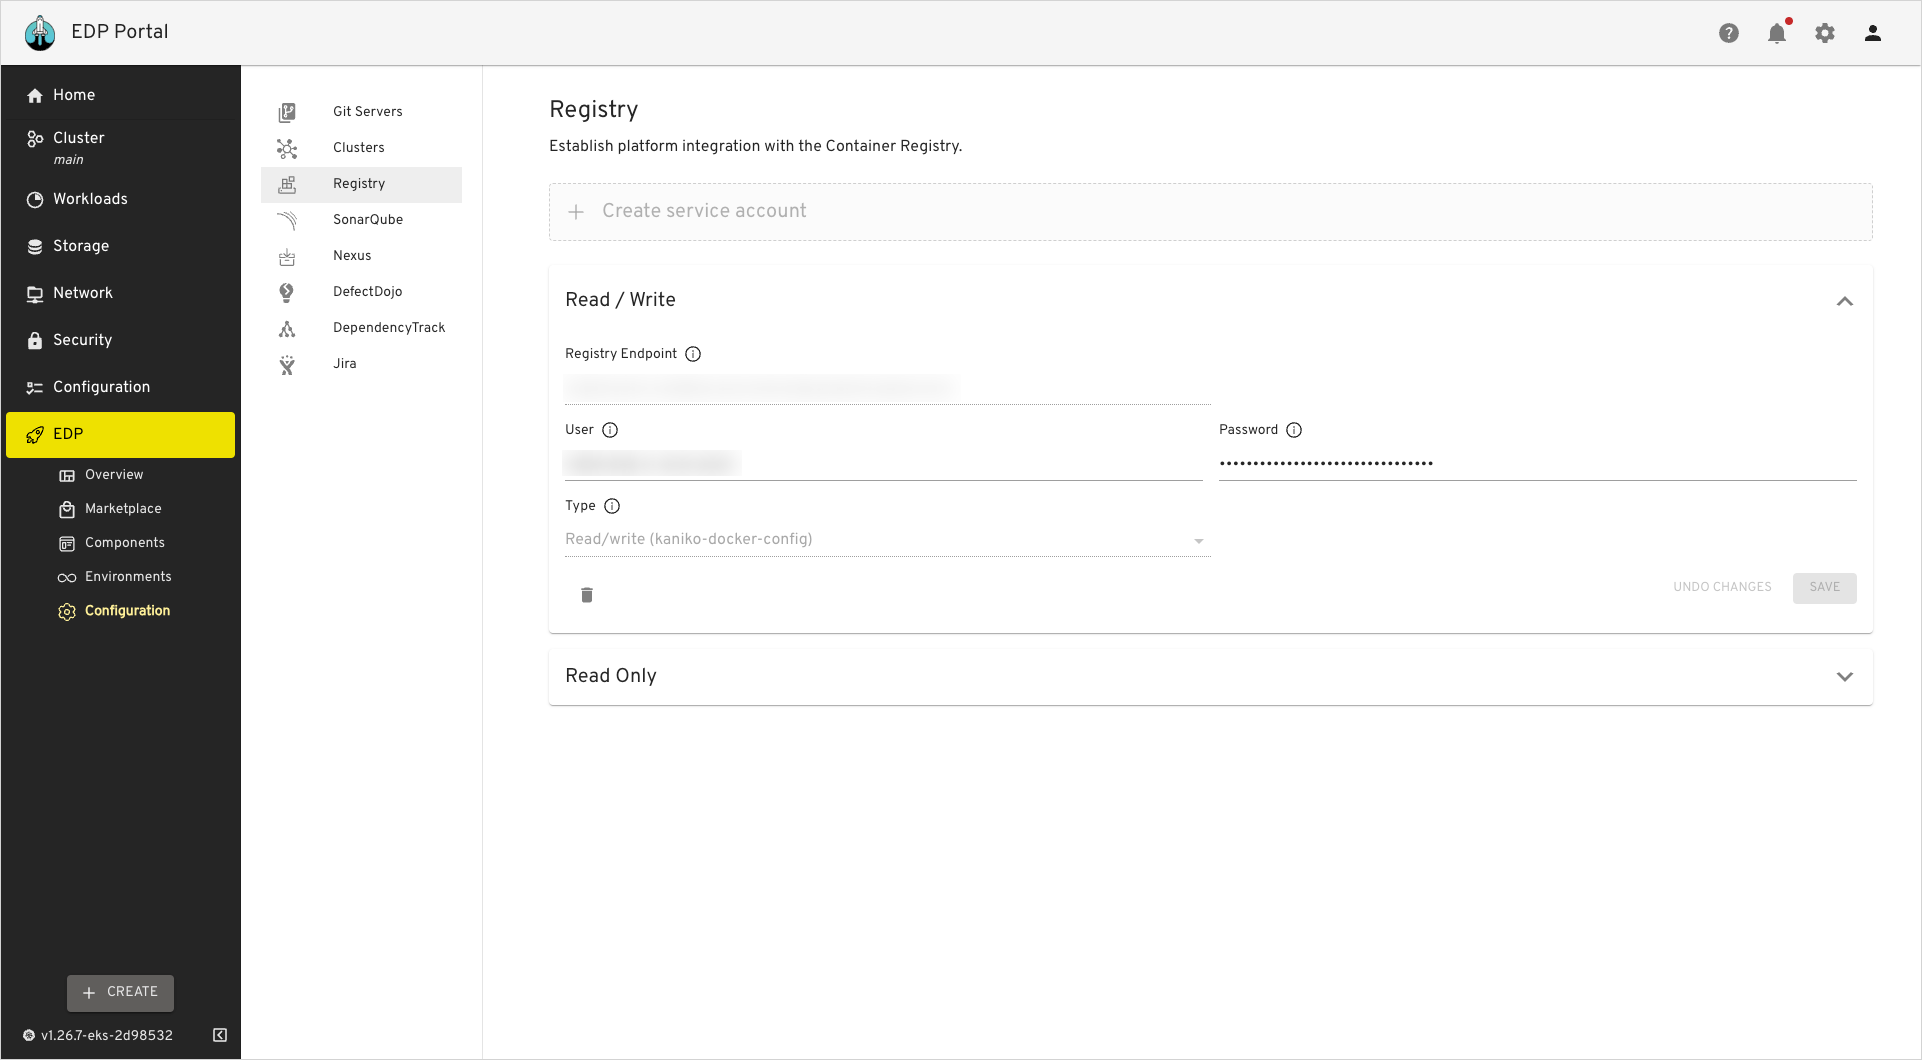
Provision the kaniko-docker-config secrets using kubectl, EDP Portal or with the externalSecrets operator:
Example
The
authstring can be generated by this command:
  apiVersion: v1
  kind: Secret
  metadata:
    name: kaniko-docker-config
    namespace: edp
    labels:
      app.edp.epam.com/secret-type: registry
      app.edp.epam.com/integration-secret: "true"
  type: kubernetes.io/dockerconfigjson
  stringData:
    .dockerconfigjson: |
      {
        "auths" : {
          "harbor-registry.com":
            {
              "username":"registry-username",
              "password":"registry-password",
              "auth": "secret-string"
            }
        }
      }
Navigate to
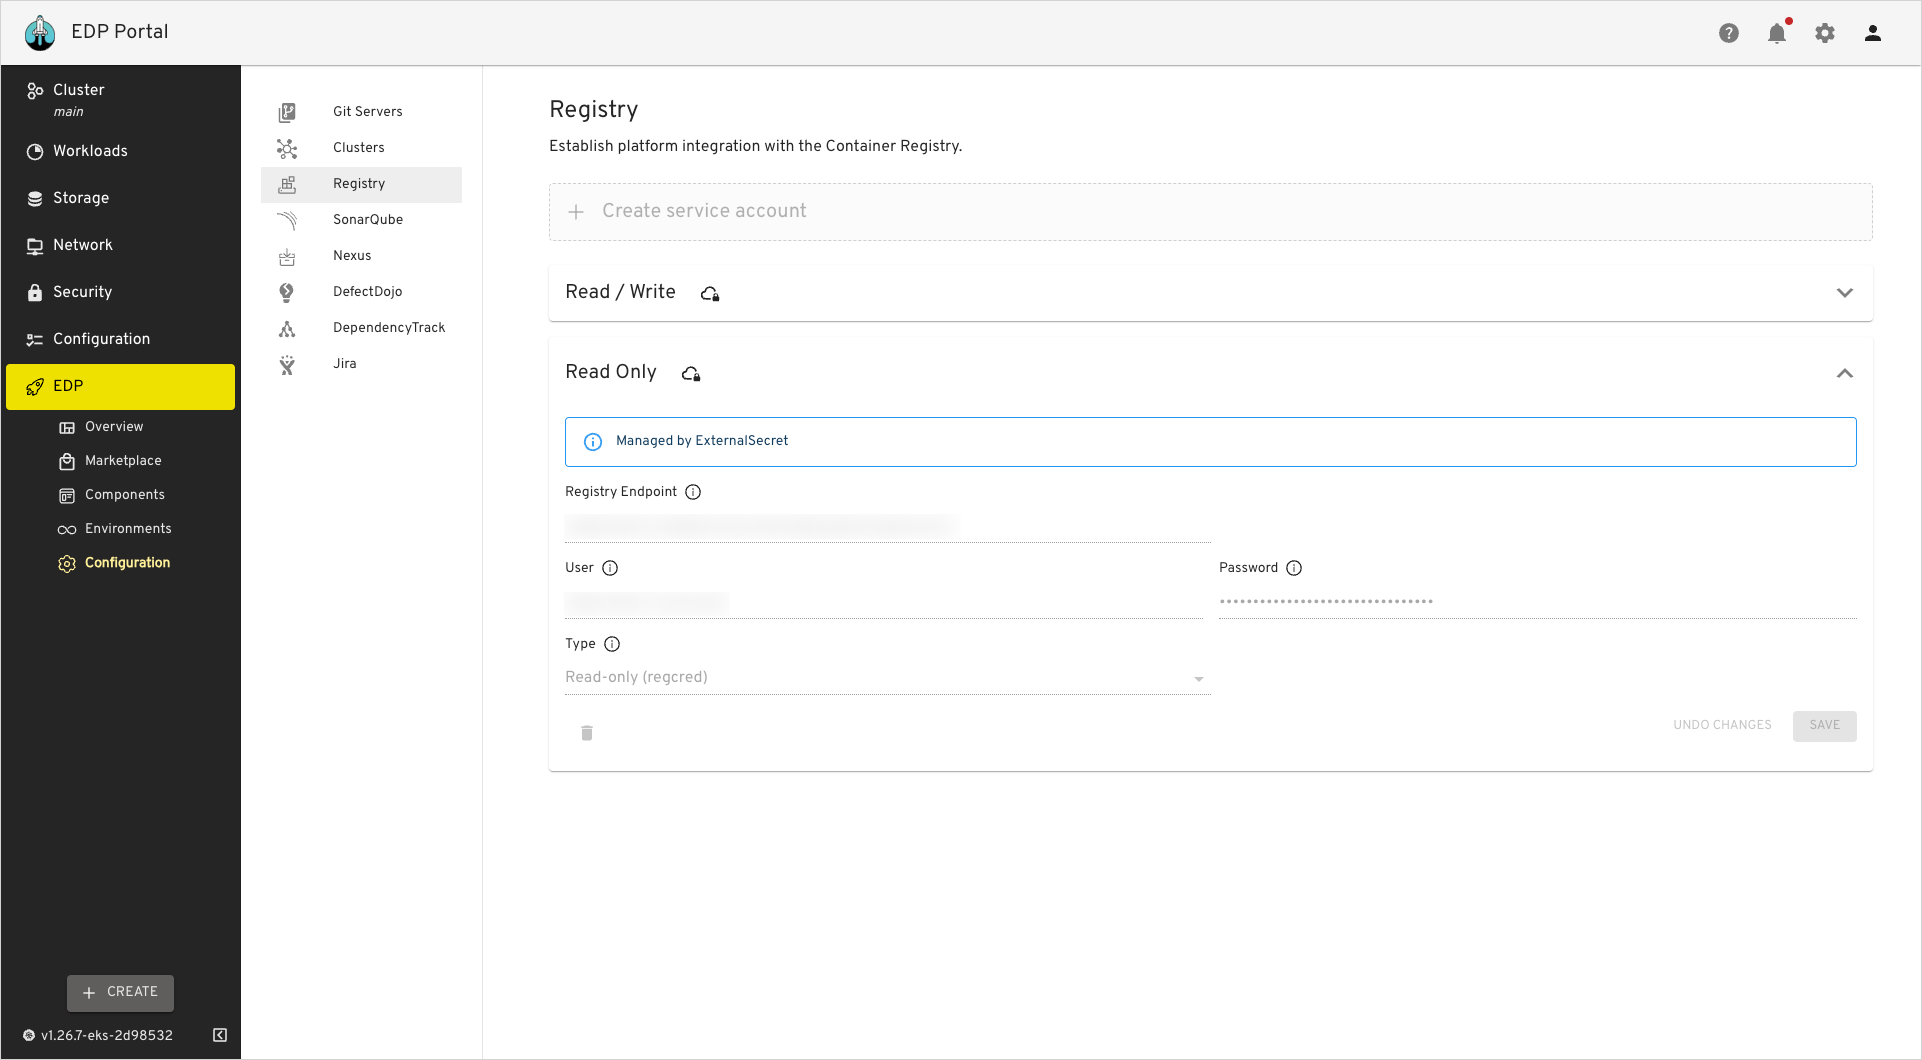
EDP Portal UI->EDP->Configuration->Registry. Fill in the required fields and clickSave.Note
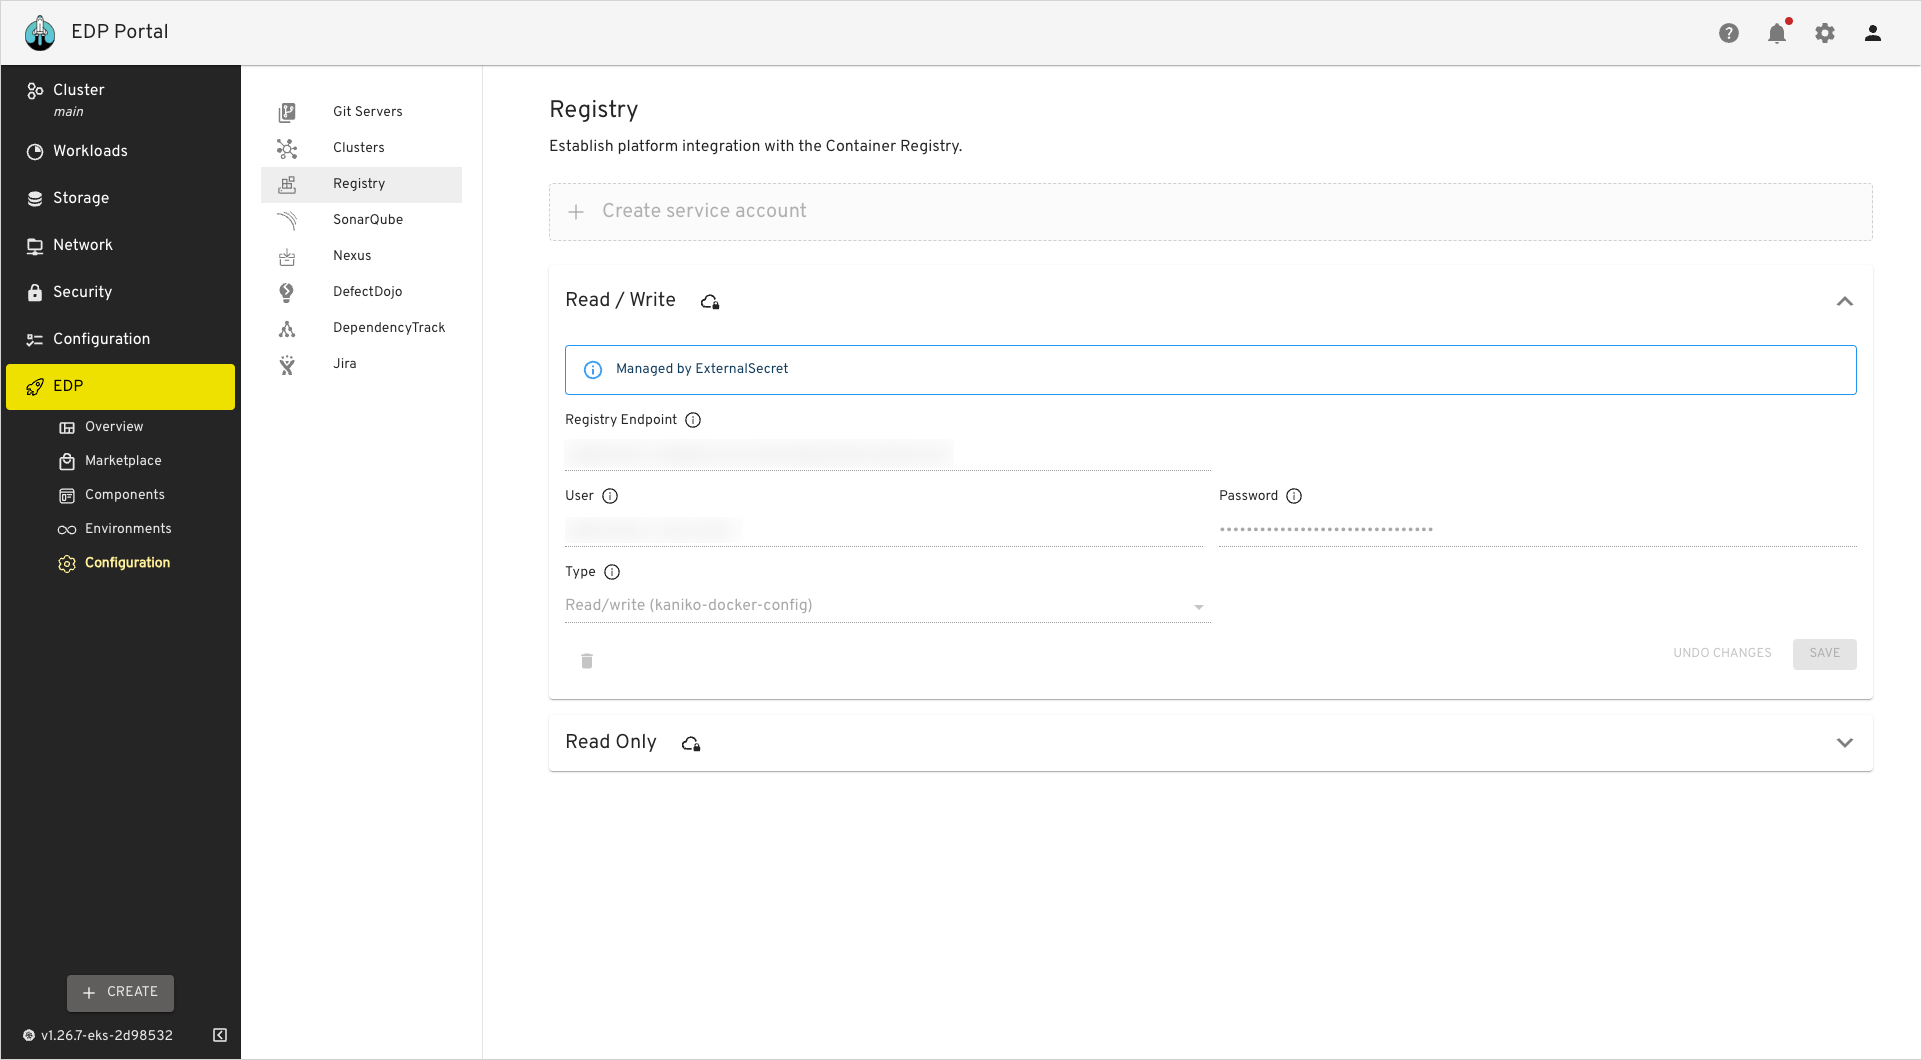
More details of External Secrets Operator Integration can be found in the External Secrets Operator Integration page.
-
Repeat steps 2-3 with values below:
- Name -
edp-pull; - Expiration time - set the value which is aligned with your organization policy;
- Description -
read-only permissions; - Permissions -
Pull Repository.
- Name -
-
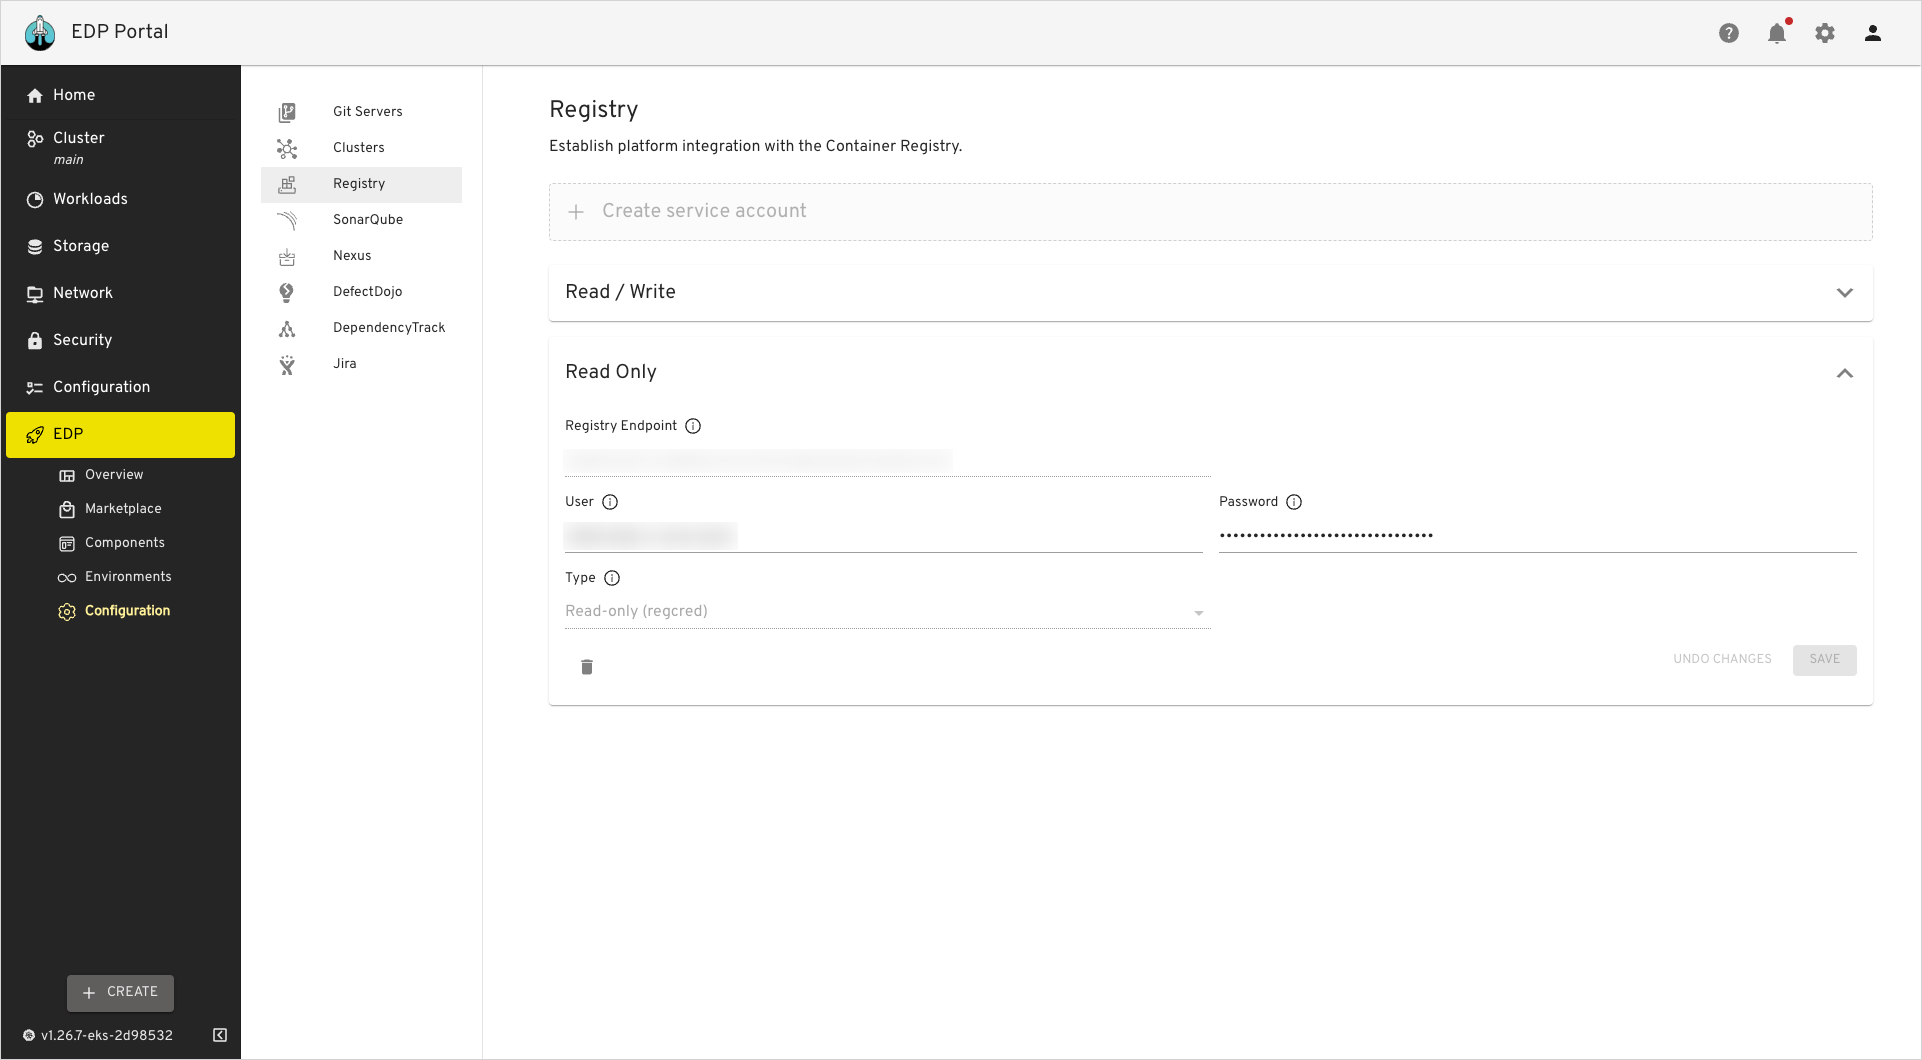
Provision the regcred secrets using kubectl, EDP Portal or with the externalSecrets operator:
Example
The
authstring can be generated by this command:
apiVersion: v1
kind: Secret
metadata:
  name: regcred
  namespace: edp
  labels:
    app.edp.epam.com/secret-type: registry
    app.edp.epam.com/integration-secret: "true"
type: kubernetes.io/dockerconfigjson
stringData:
  .dockerconfigjson: |
    {
      "auths" : {
        "harbor-registry.com":
          {
            "username":"registry-username",
            "password":"registry-password",
            "auth": "secret-string"
          }
      }
    }
Navigate to
EDP Portal UI->EDP->Configuration->Registry. Fill in the required fields and click Save.Note
More details of External Secrets Operator Integration can be found in the External Secrets Operator Integration page.
-
In the values.yaml file for the edp-install Helm chart, set the following values for the specified fields:
If the
kaniko-docker-configsecret has been created manually: -
(Optional) If you've already deployed the EDP Helm chart, you can update it using the following command:
As a result, application images built in EDP Portal will be stored in Harbor project and will be deployed from the harbor registry.
Harbor projects can be added and retained with a retention policy generated through the EDP script in edp-cluster-add-ons.
